What is a Unique Promo Code?
As a GameDay administrator offering registrations through GameDay, you can add additional payment flexibility for your members or event entrants by offering Unique Promo Codes, which allow you to assign specific discount codes for individuals to redeem upon registration.
This article will guide you through the process of creating a series of Unique Promo Codes:
Navigating to Promo Codes
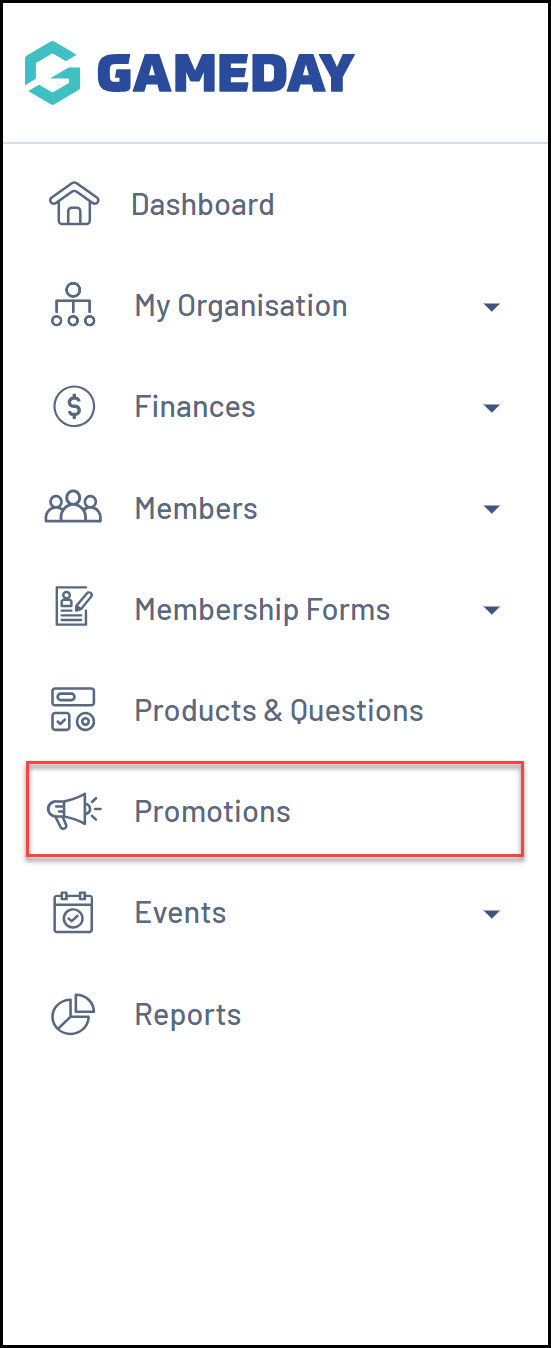
Log into your dashboard and select the PROMOTIONS item from the left-hand menu
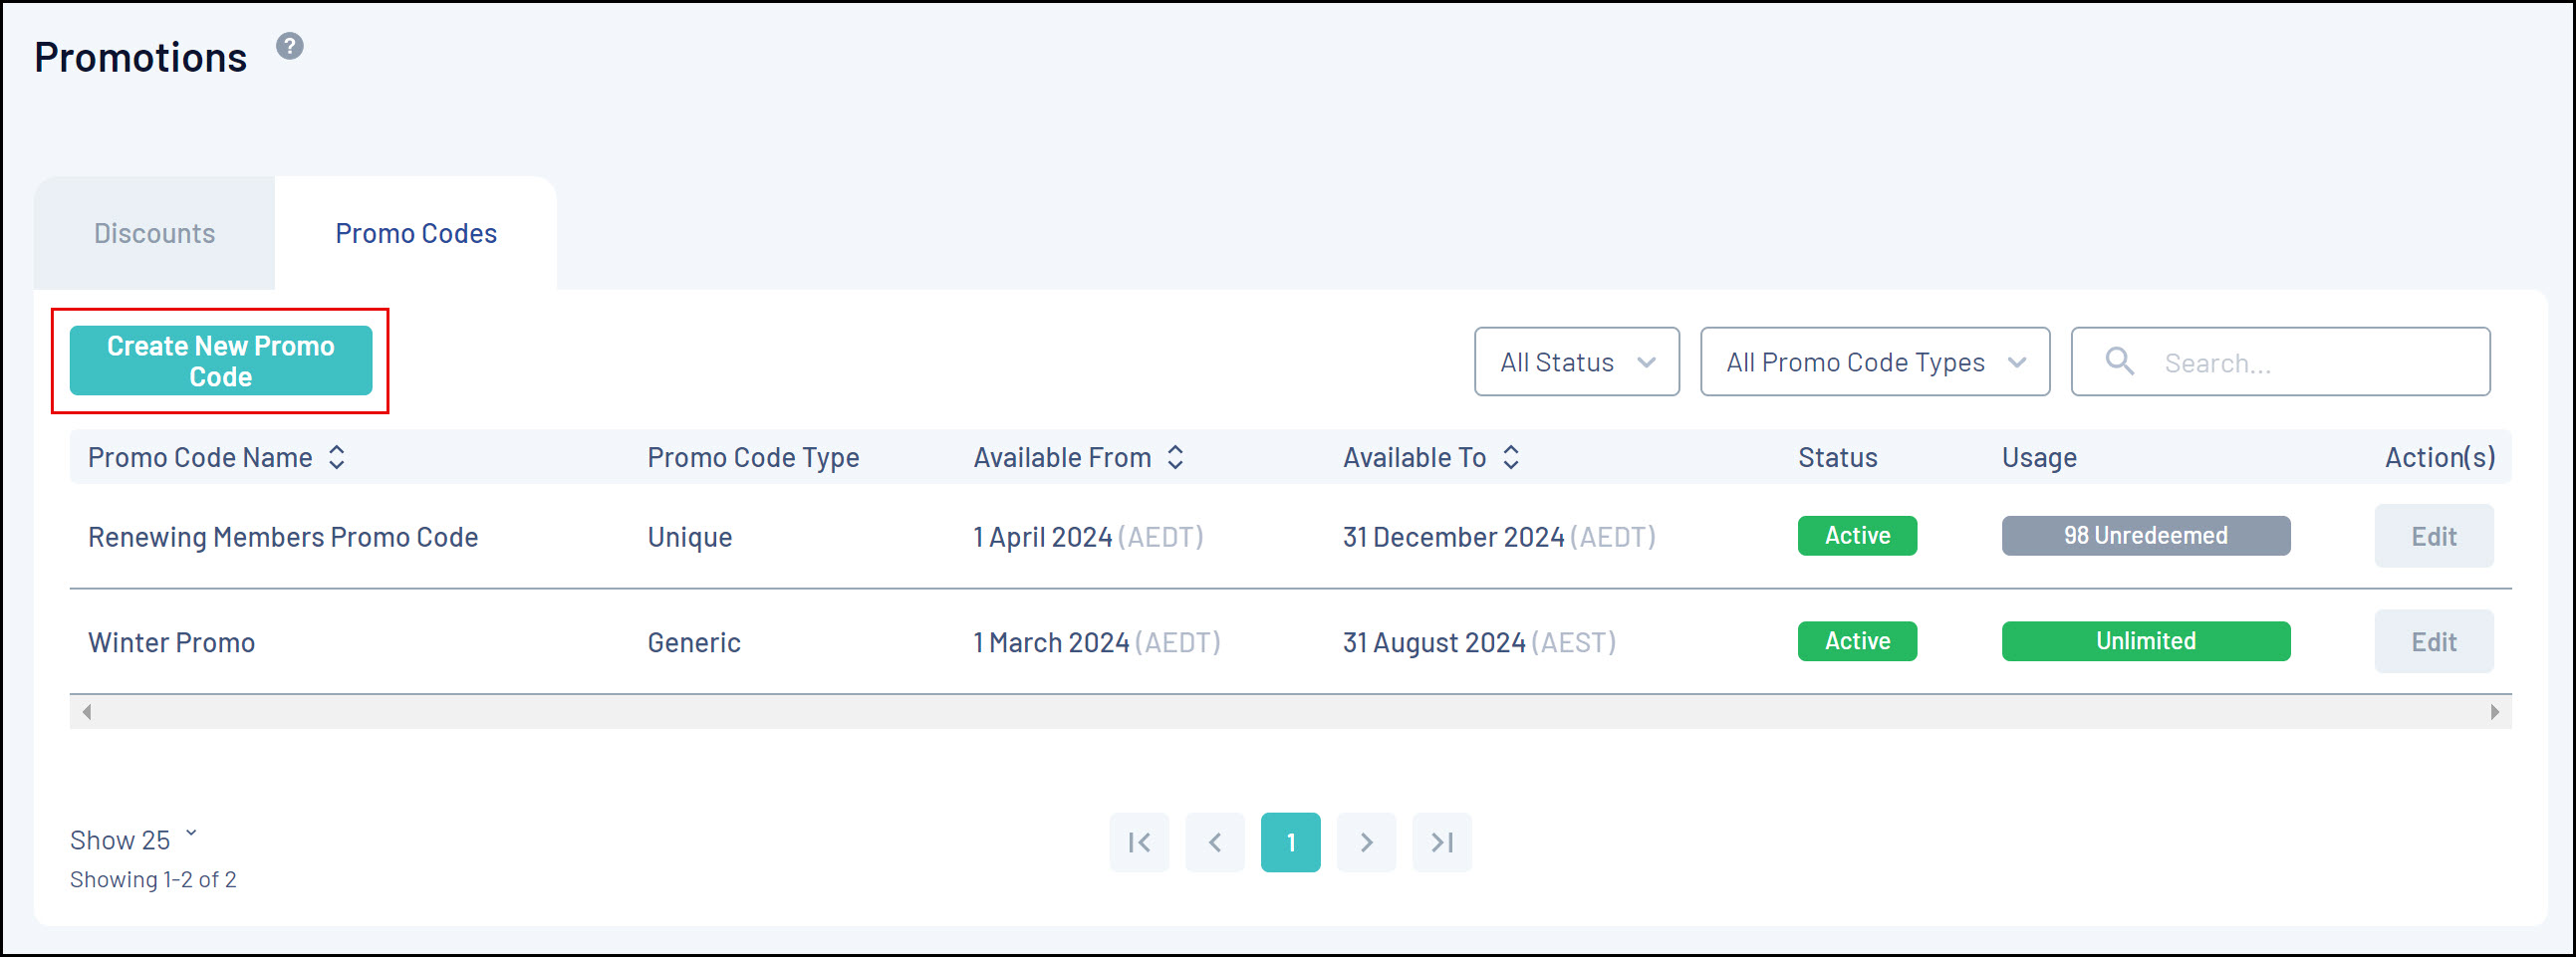
 Select the Promo Codes tab, then select the CREATE NEW PROMO CODE button
Promo Code Settings
A setup wizard will appear where you can configure your Promo Codes
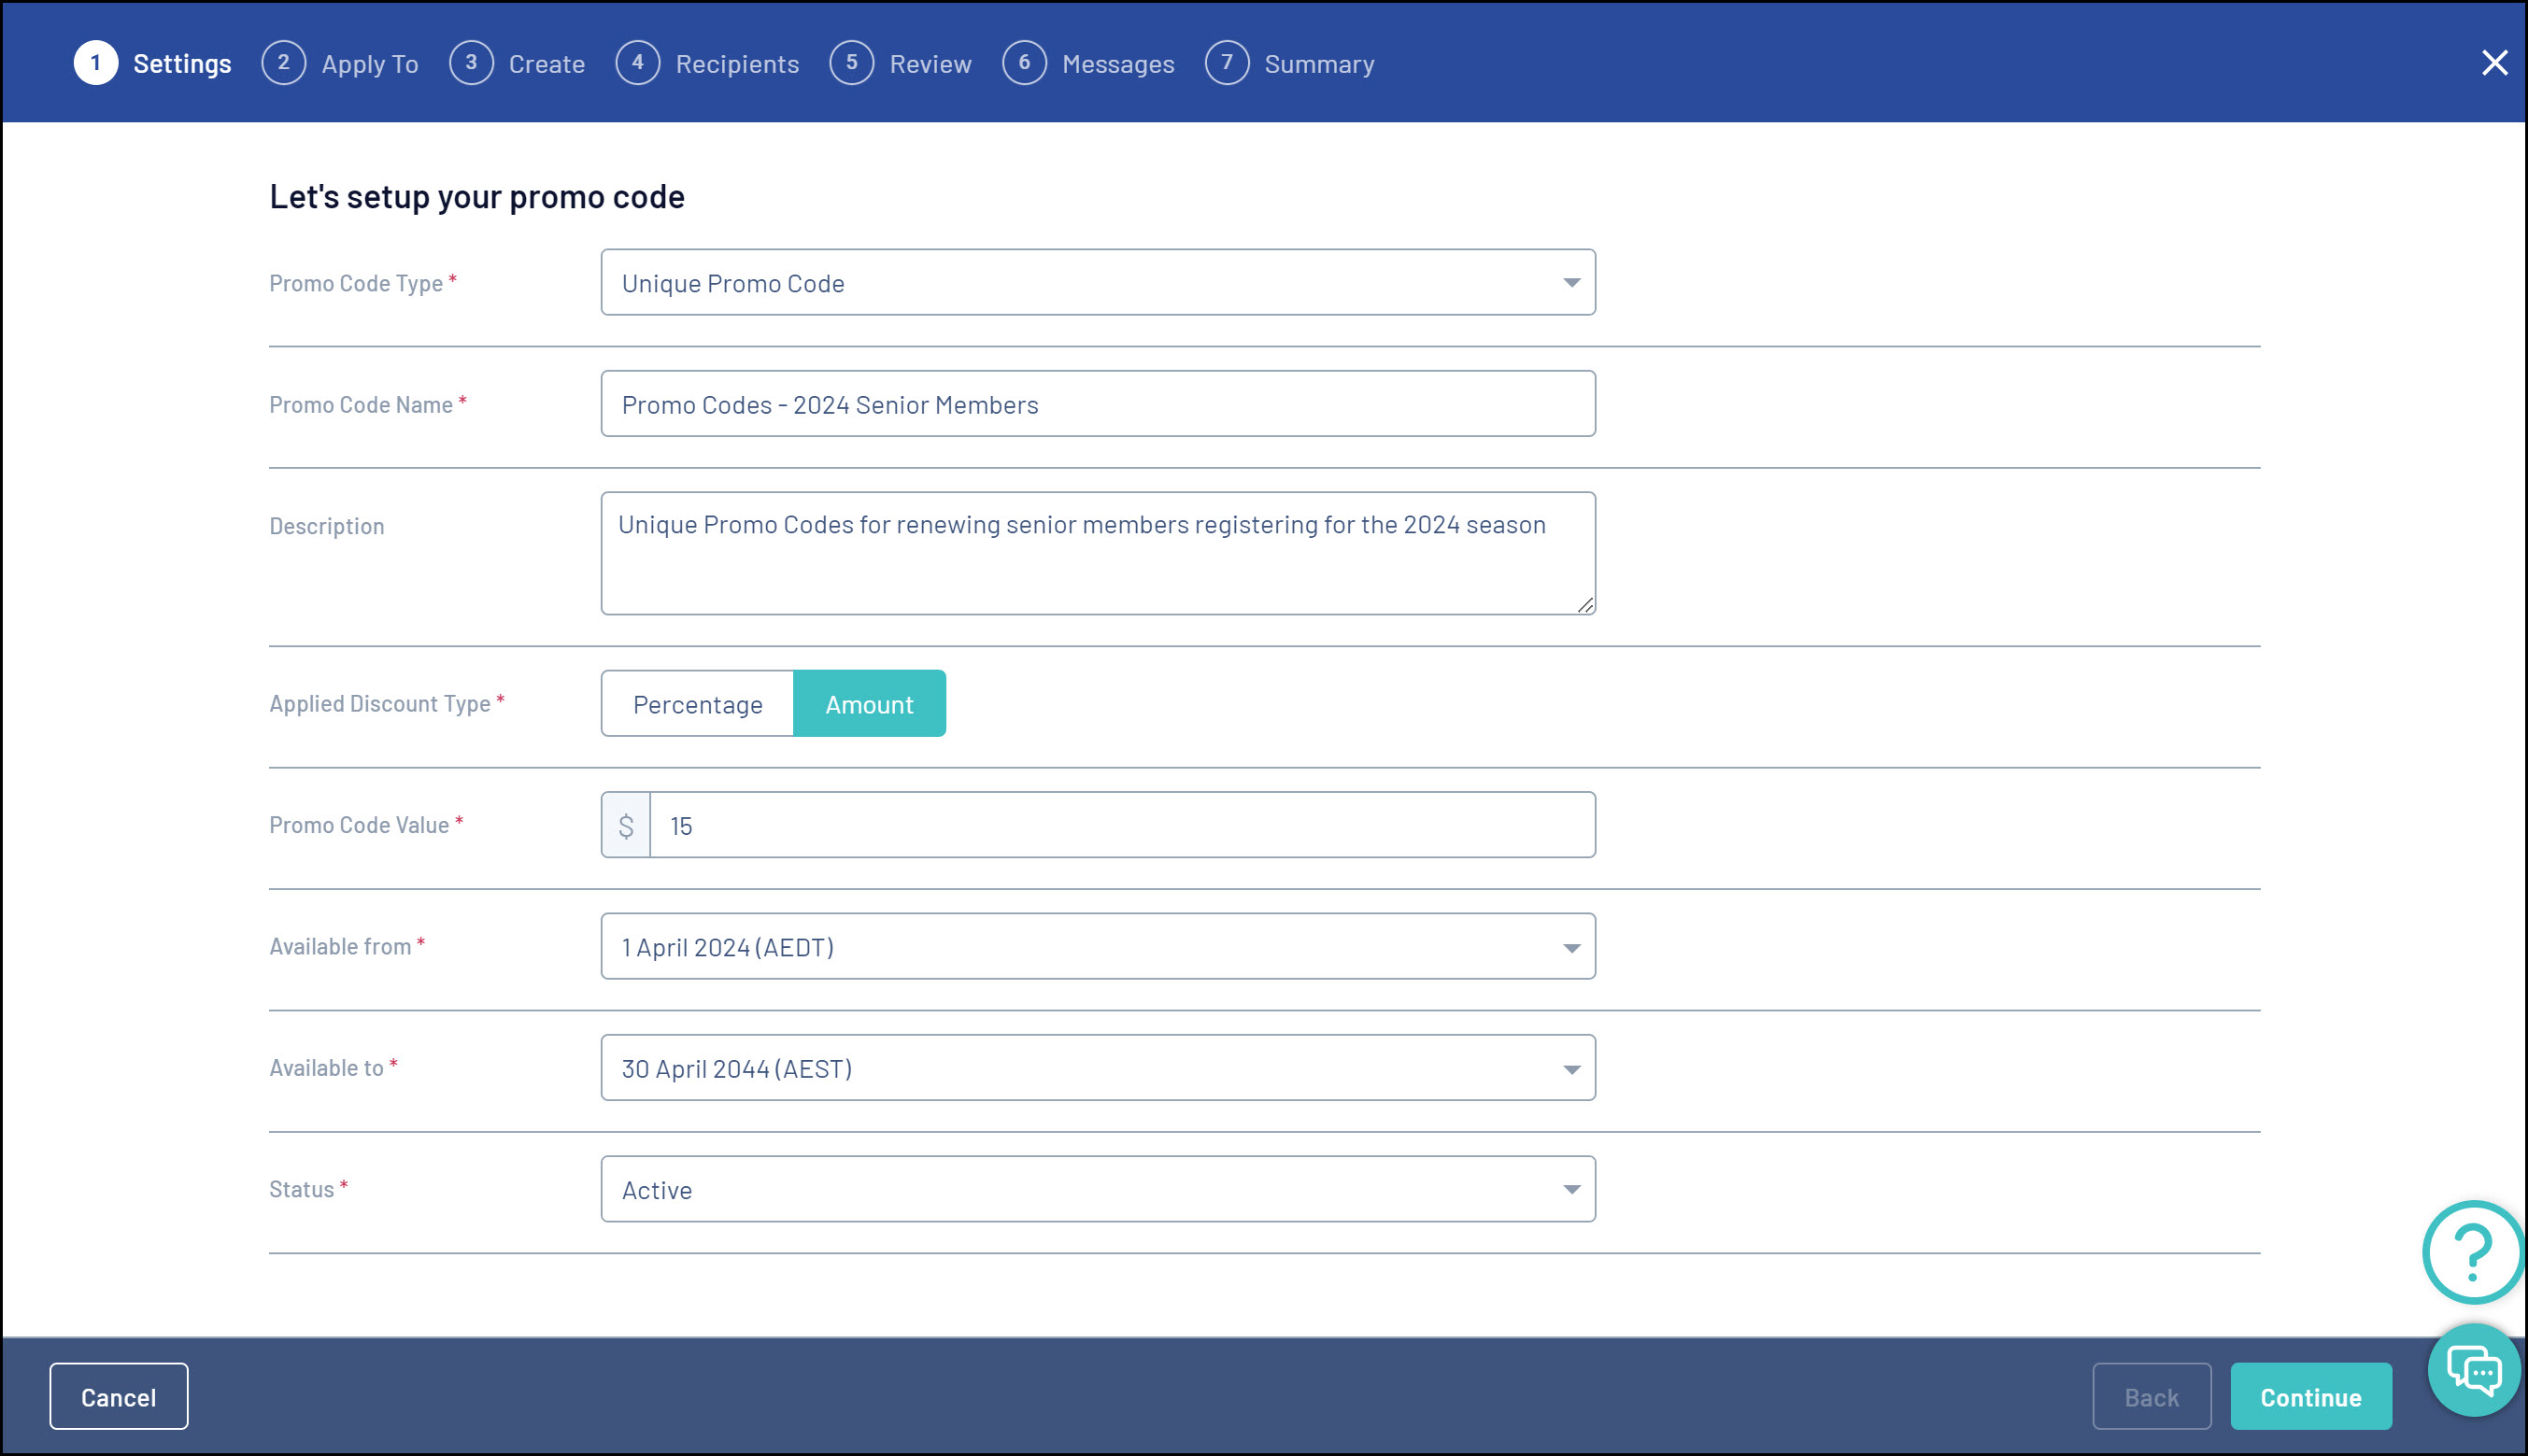
- Promo Code Type: Select Unique Promo Code
- Promo Code Name: A simple name for your code to identify it within the database
- Description: An optional field that allows you to provide more information about each one
- Applied Discount Type: Select either Percentage or Amount (eg a 10% discount code or a $10 discount code)
- Promo Code Value: The value of the discount, as determined by the previous field (percentage or amount)
- Available From and Available To: A date range in which the promo code is valid and can be used on registration forms. If a user tries to use the code outside of this date range, they will receive an error and the code will not be applied to their registration
- Status: Can be set to Active or Inactive
Once you have filled out these fields, click the CONTINUE button in the bottom right corner.
Applying your Promo Code to database assets
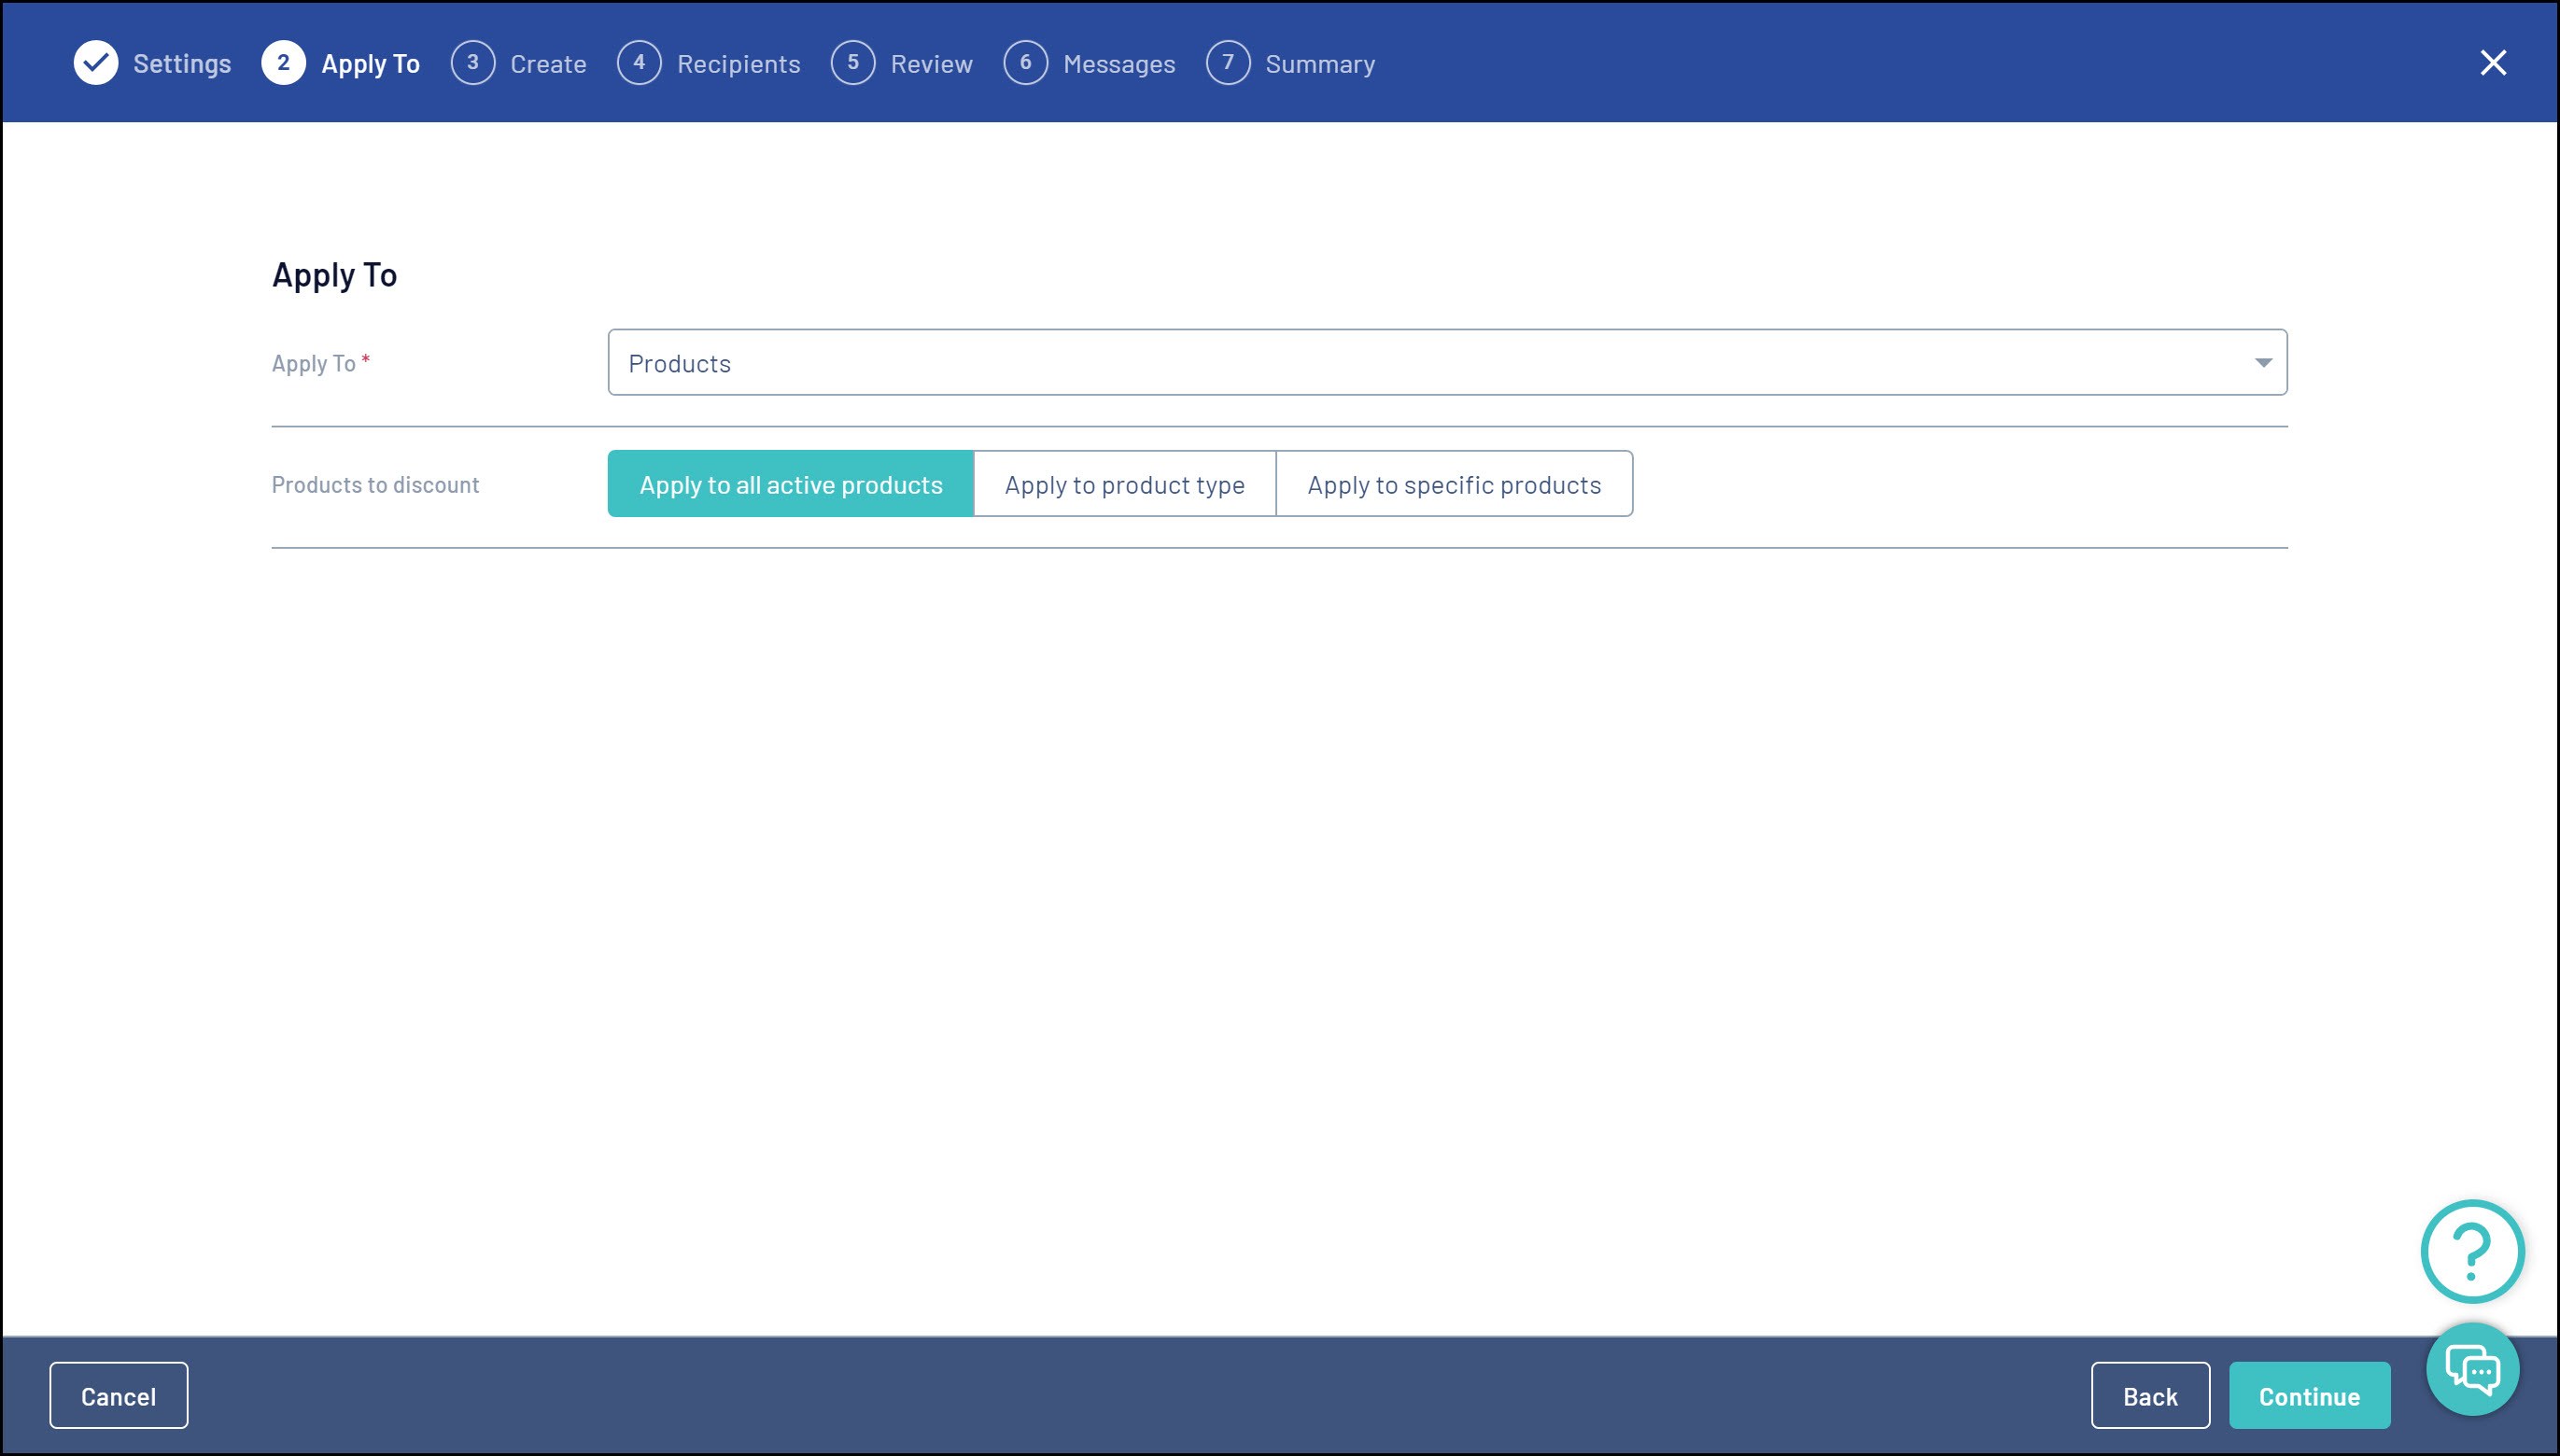
On the Apply To page, you can determine which assets from your database the promo codes will apply to
Your options are:
Products
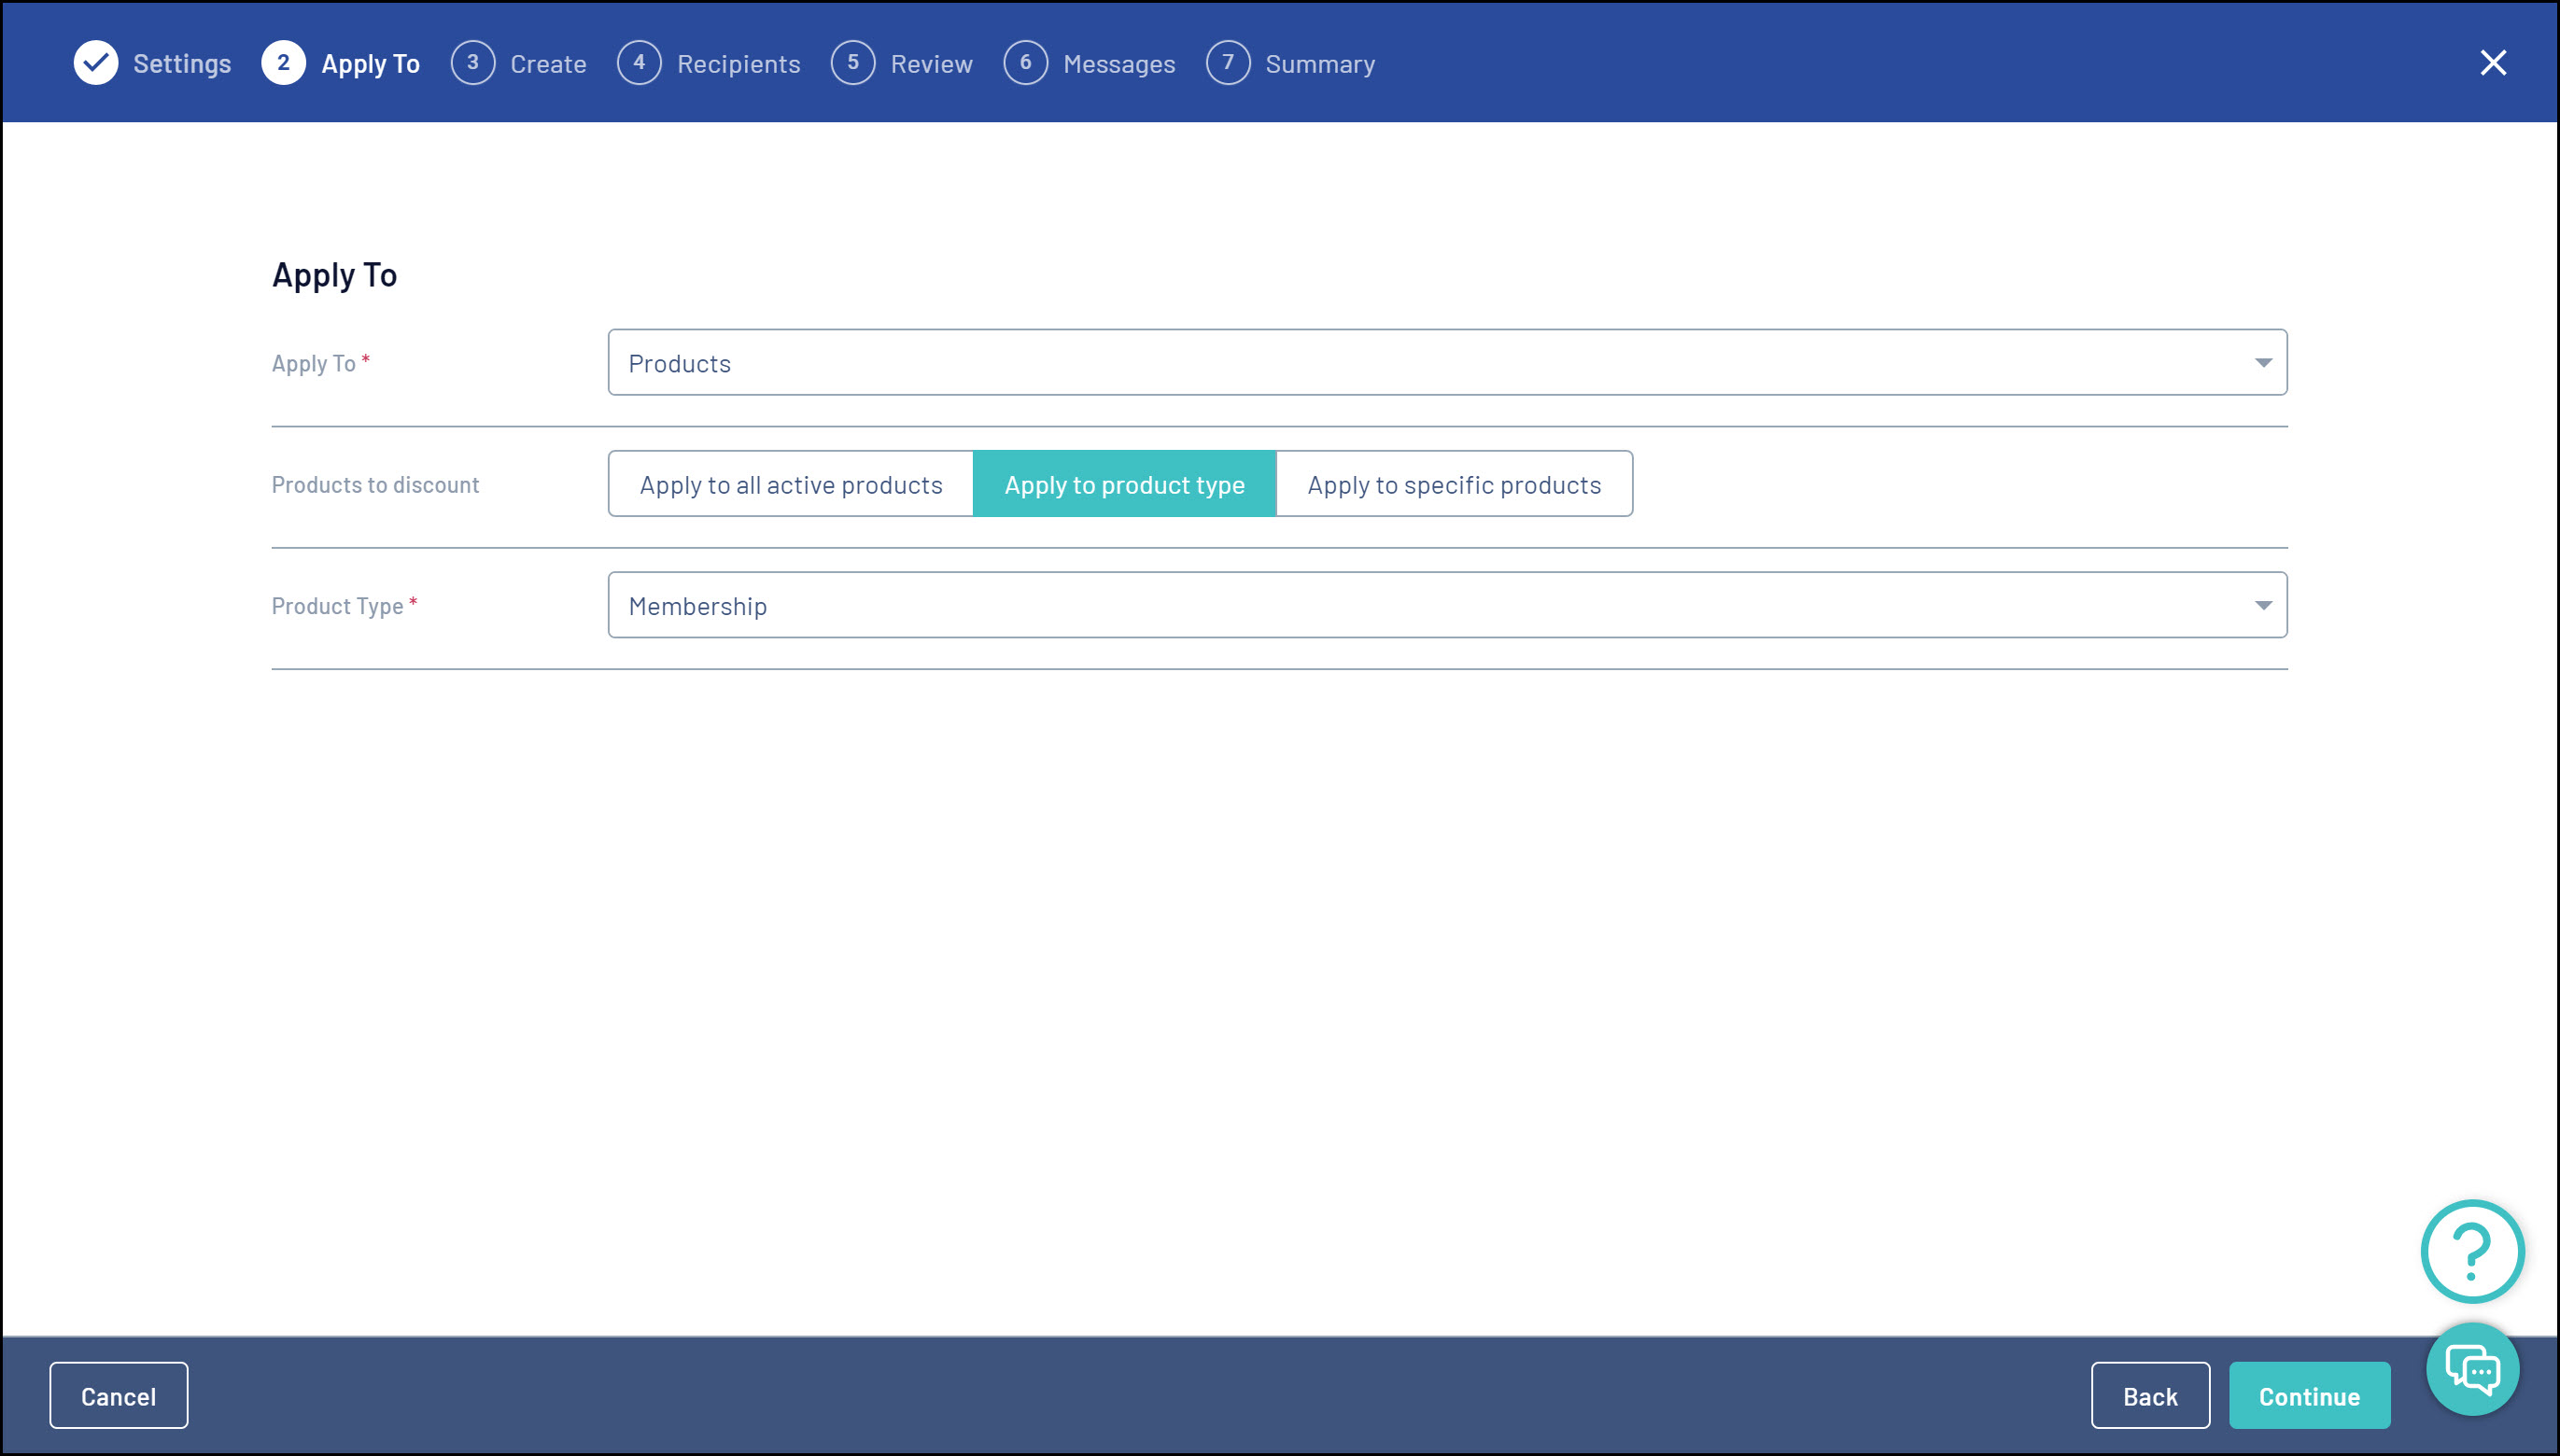
You will have the choice of applying this promo code to:
- All Active Products in your database
- All products of a specific Product Type (i.e. Membership or Event products)
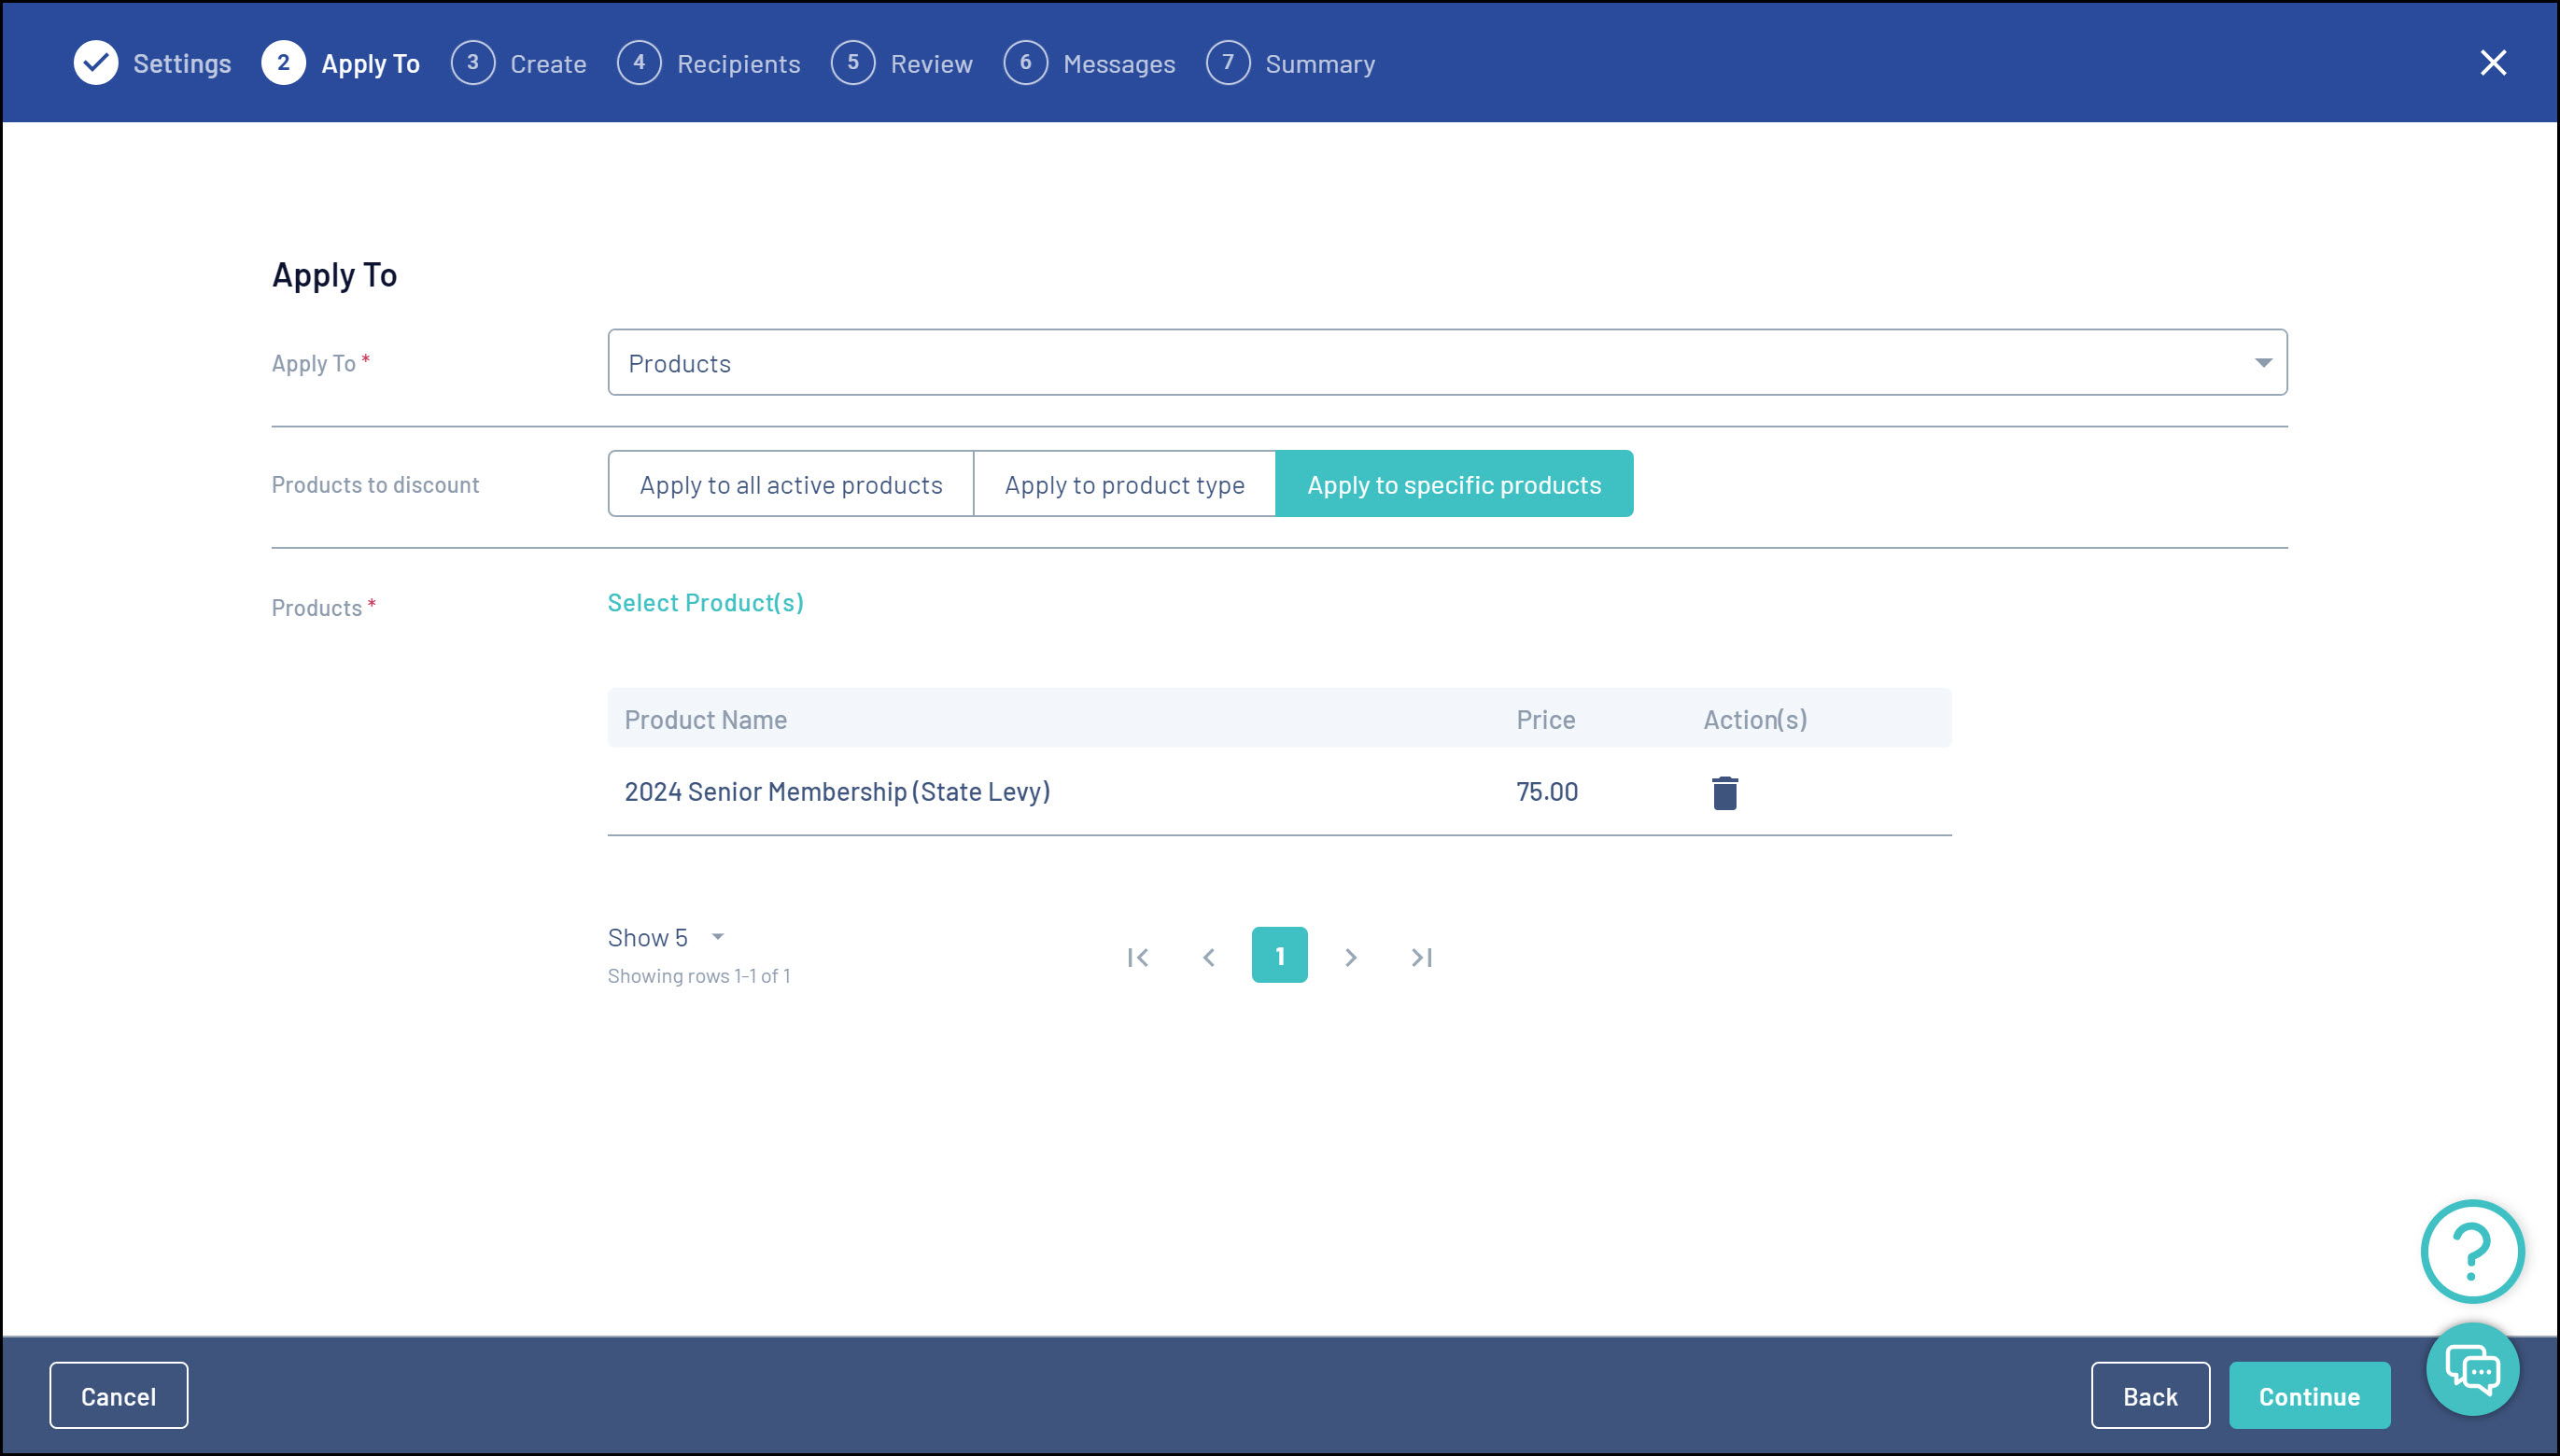
- Specific Products: Select one or more products by opening the Select Product(s) option, ticking the checkbox for those products, then clicking Add
Events
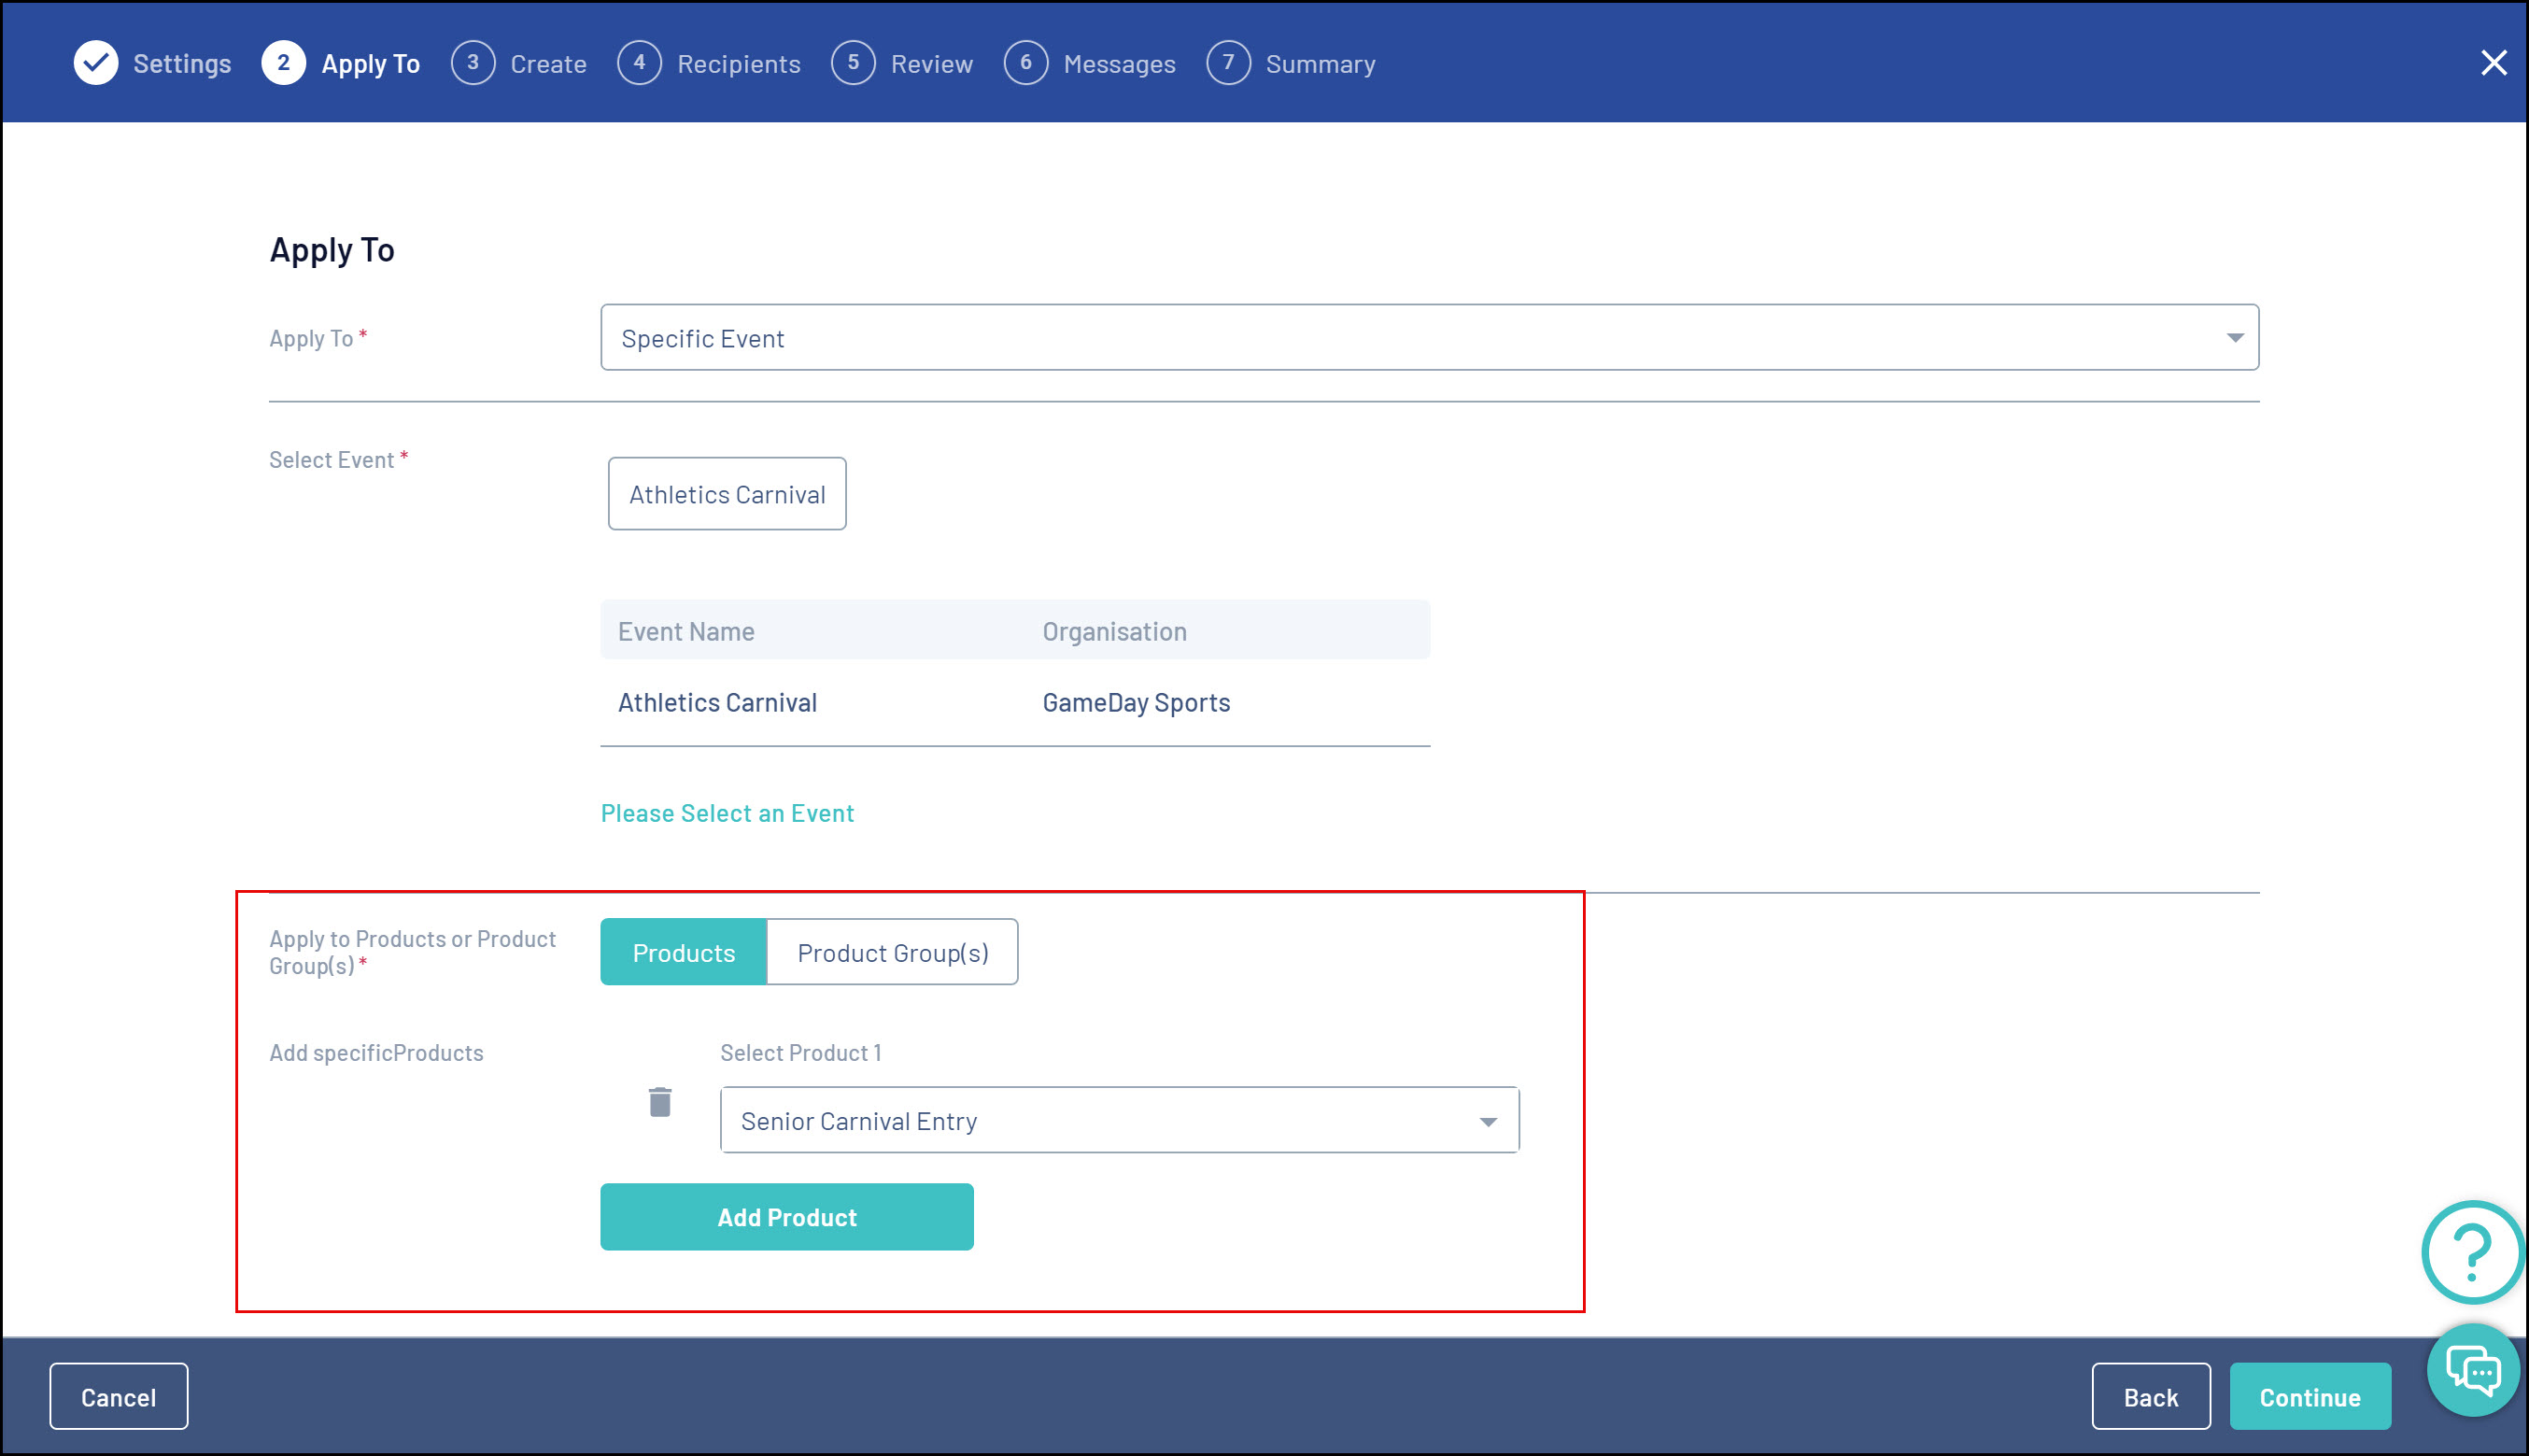
By selecting Specific Event in the Apply To field, you can select an Event to which the Promo Codes will apply
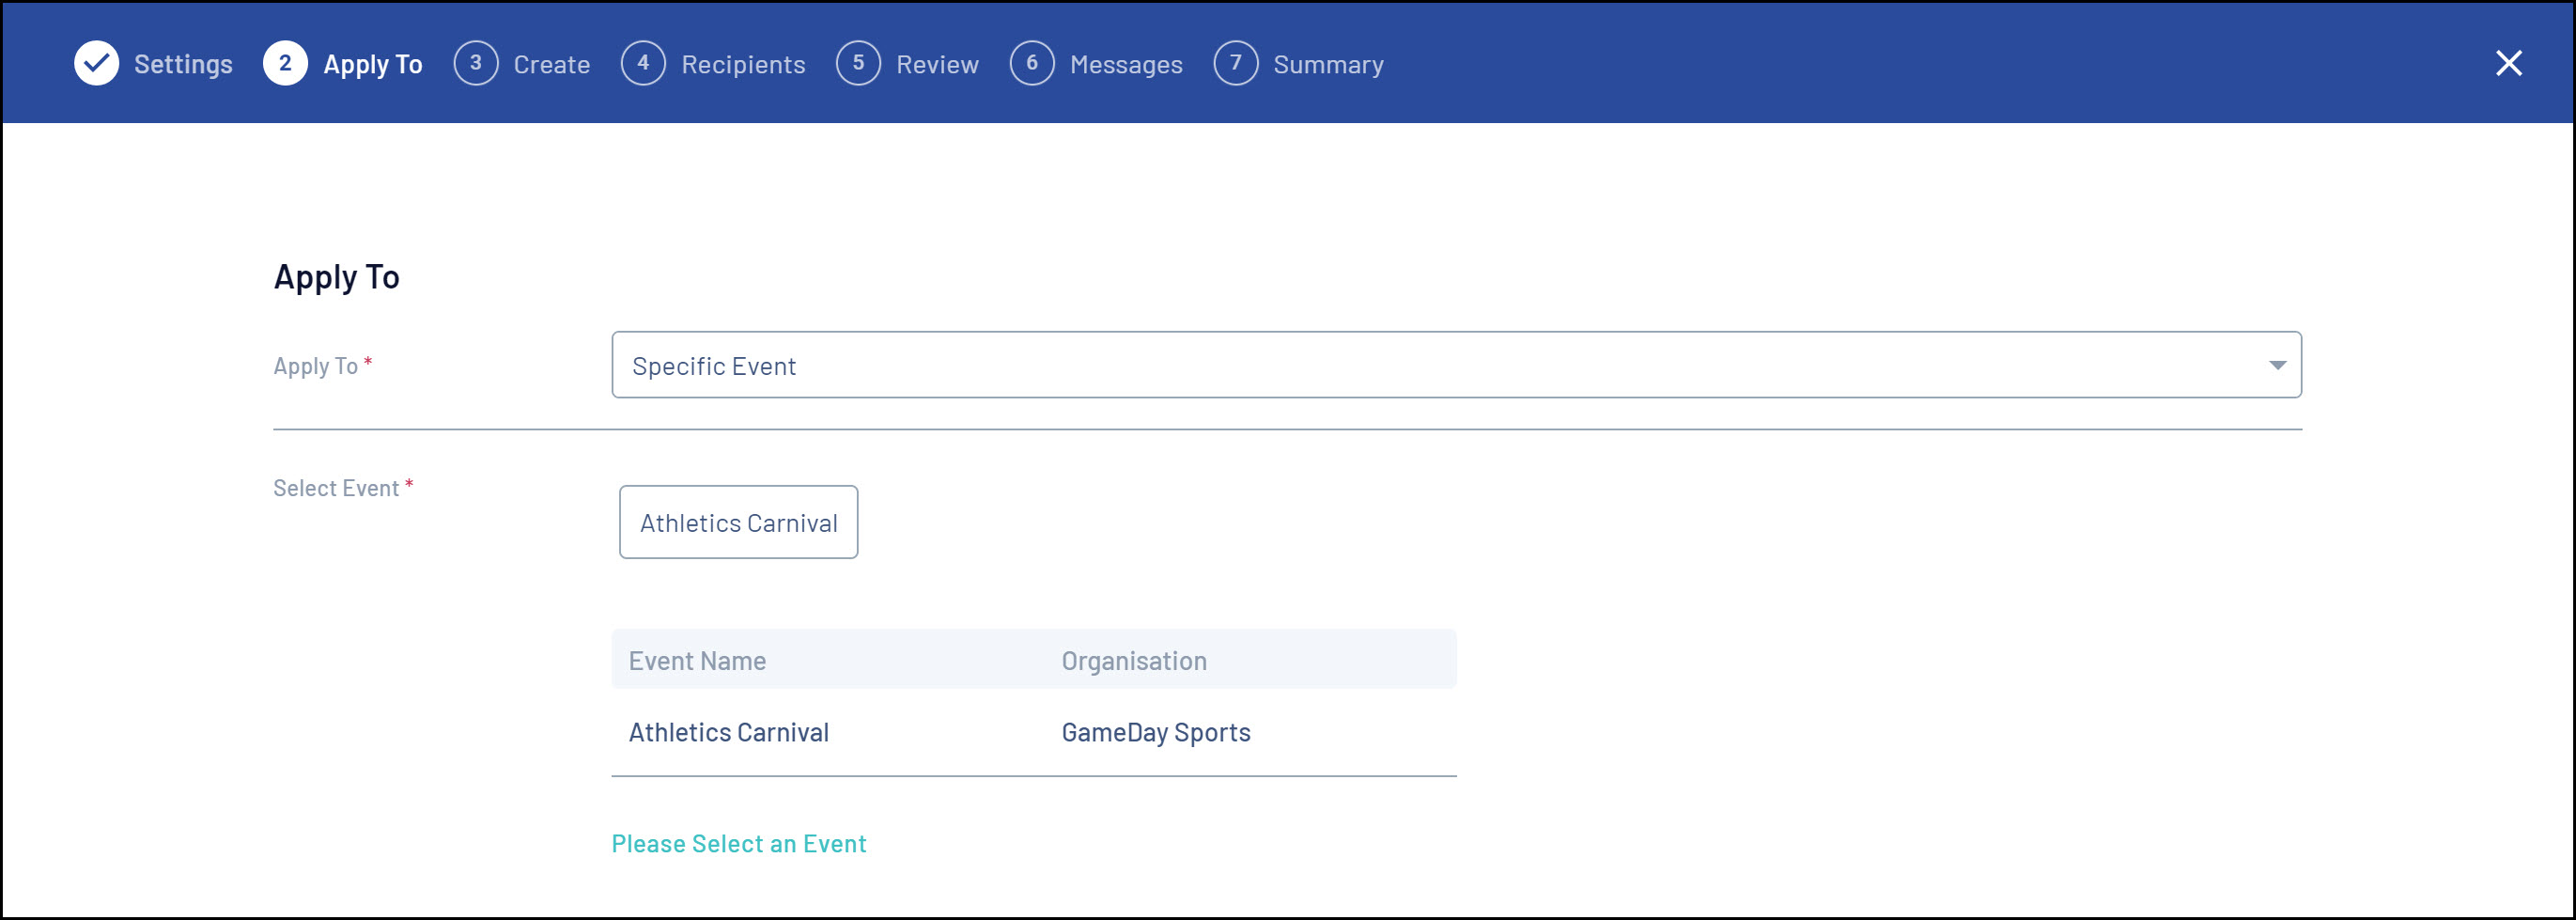
You can refine the application of Promo Codes further by selecting a Product or Product Group within the Event
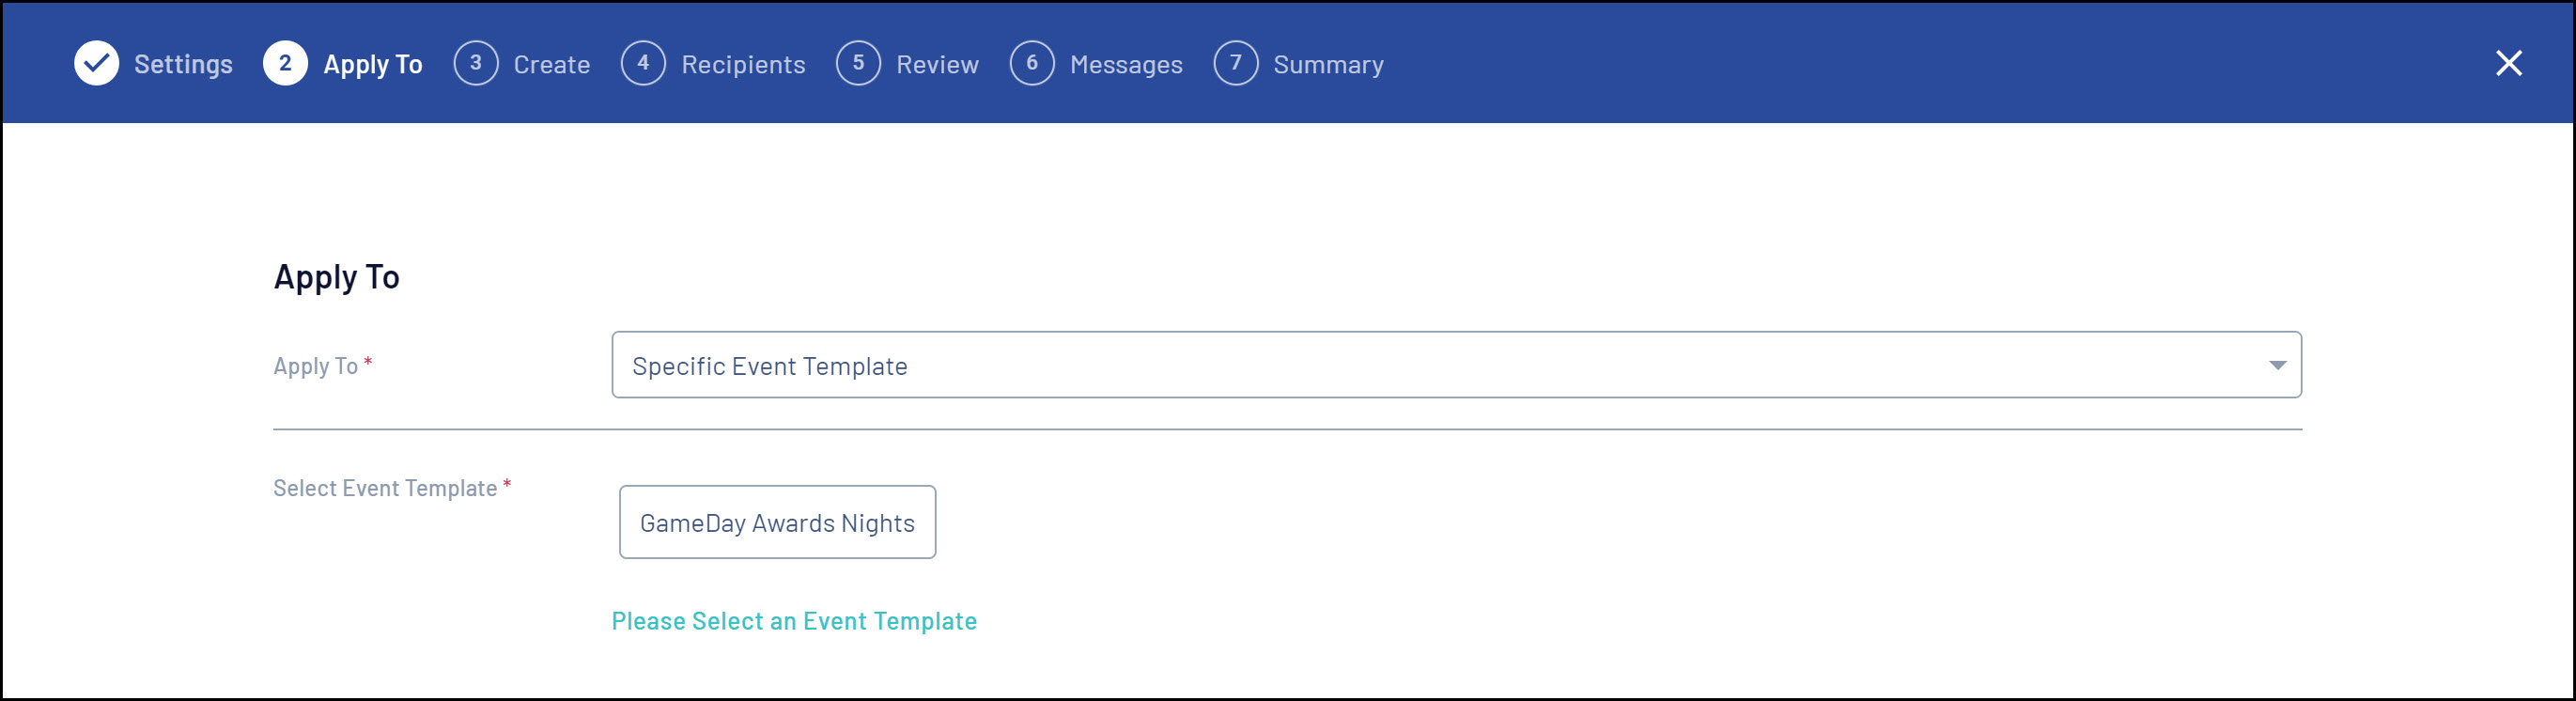
Event Templates
If you wish for your promo code to be available to multiple events that use the same Event Template, you can select this template from the list by first clicking Please Select an Event Template and then clicking Select on the template you want to use
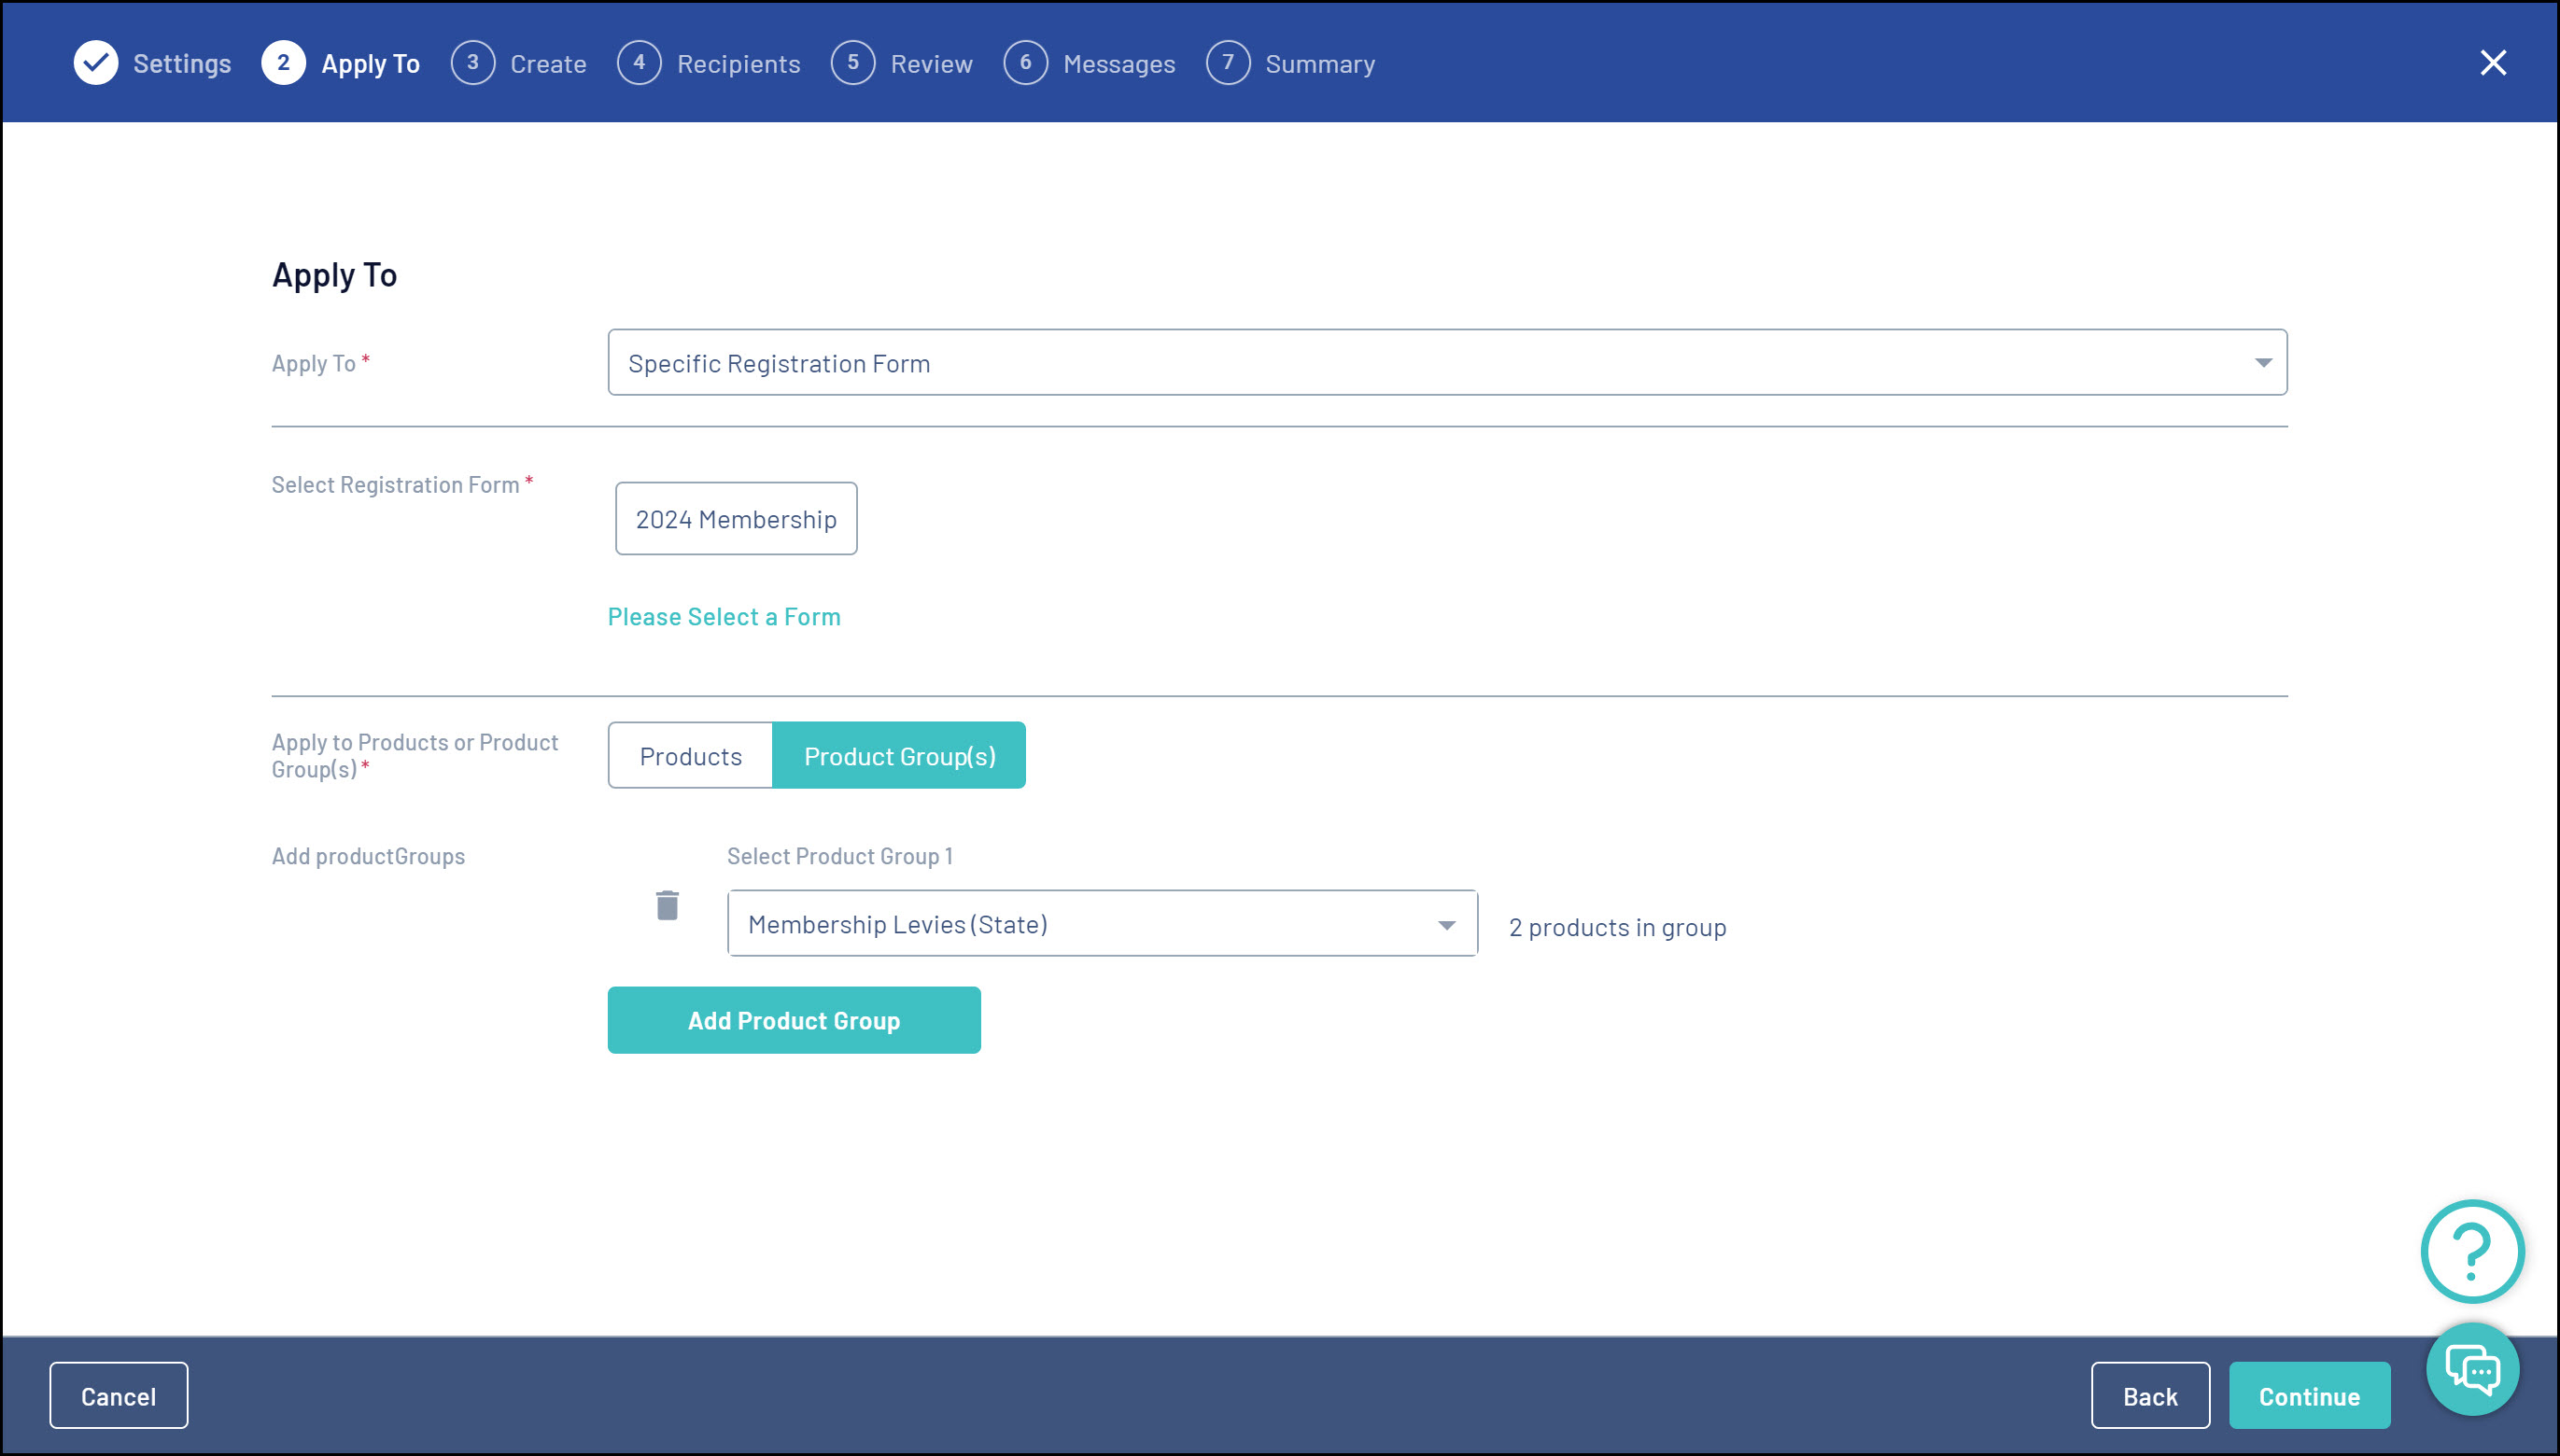
Registration Forms
With this option, you can apply your promo codes to a specific Membership Form and products within the form. Simply click Please Select a Form option and then select the registration form in the popup window that appears
Once you have selected where your promo code will be available to be used, press CONTINUE in the bottom right corner.
Defining your Promo Code format
The next page will allow you to create the format of the promo code users will enter when redeeming the code upon registration
You can determine the length of your promo code, as well as an optional Prefix and/or Suffix to the code
You can also determine how many codes to generate by entering a number in the Number of Unique Codes to Generate field.
An example of your code will be shown at the bottom of the page
When ready to proceed, click CONTINUE
Promo Code Recipients
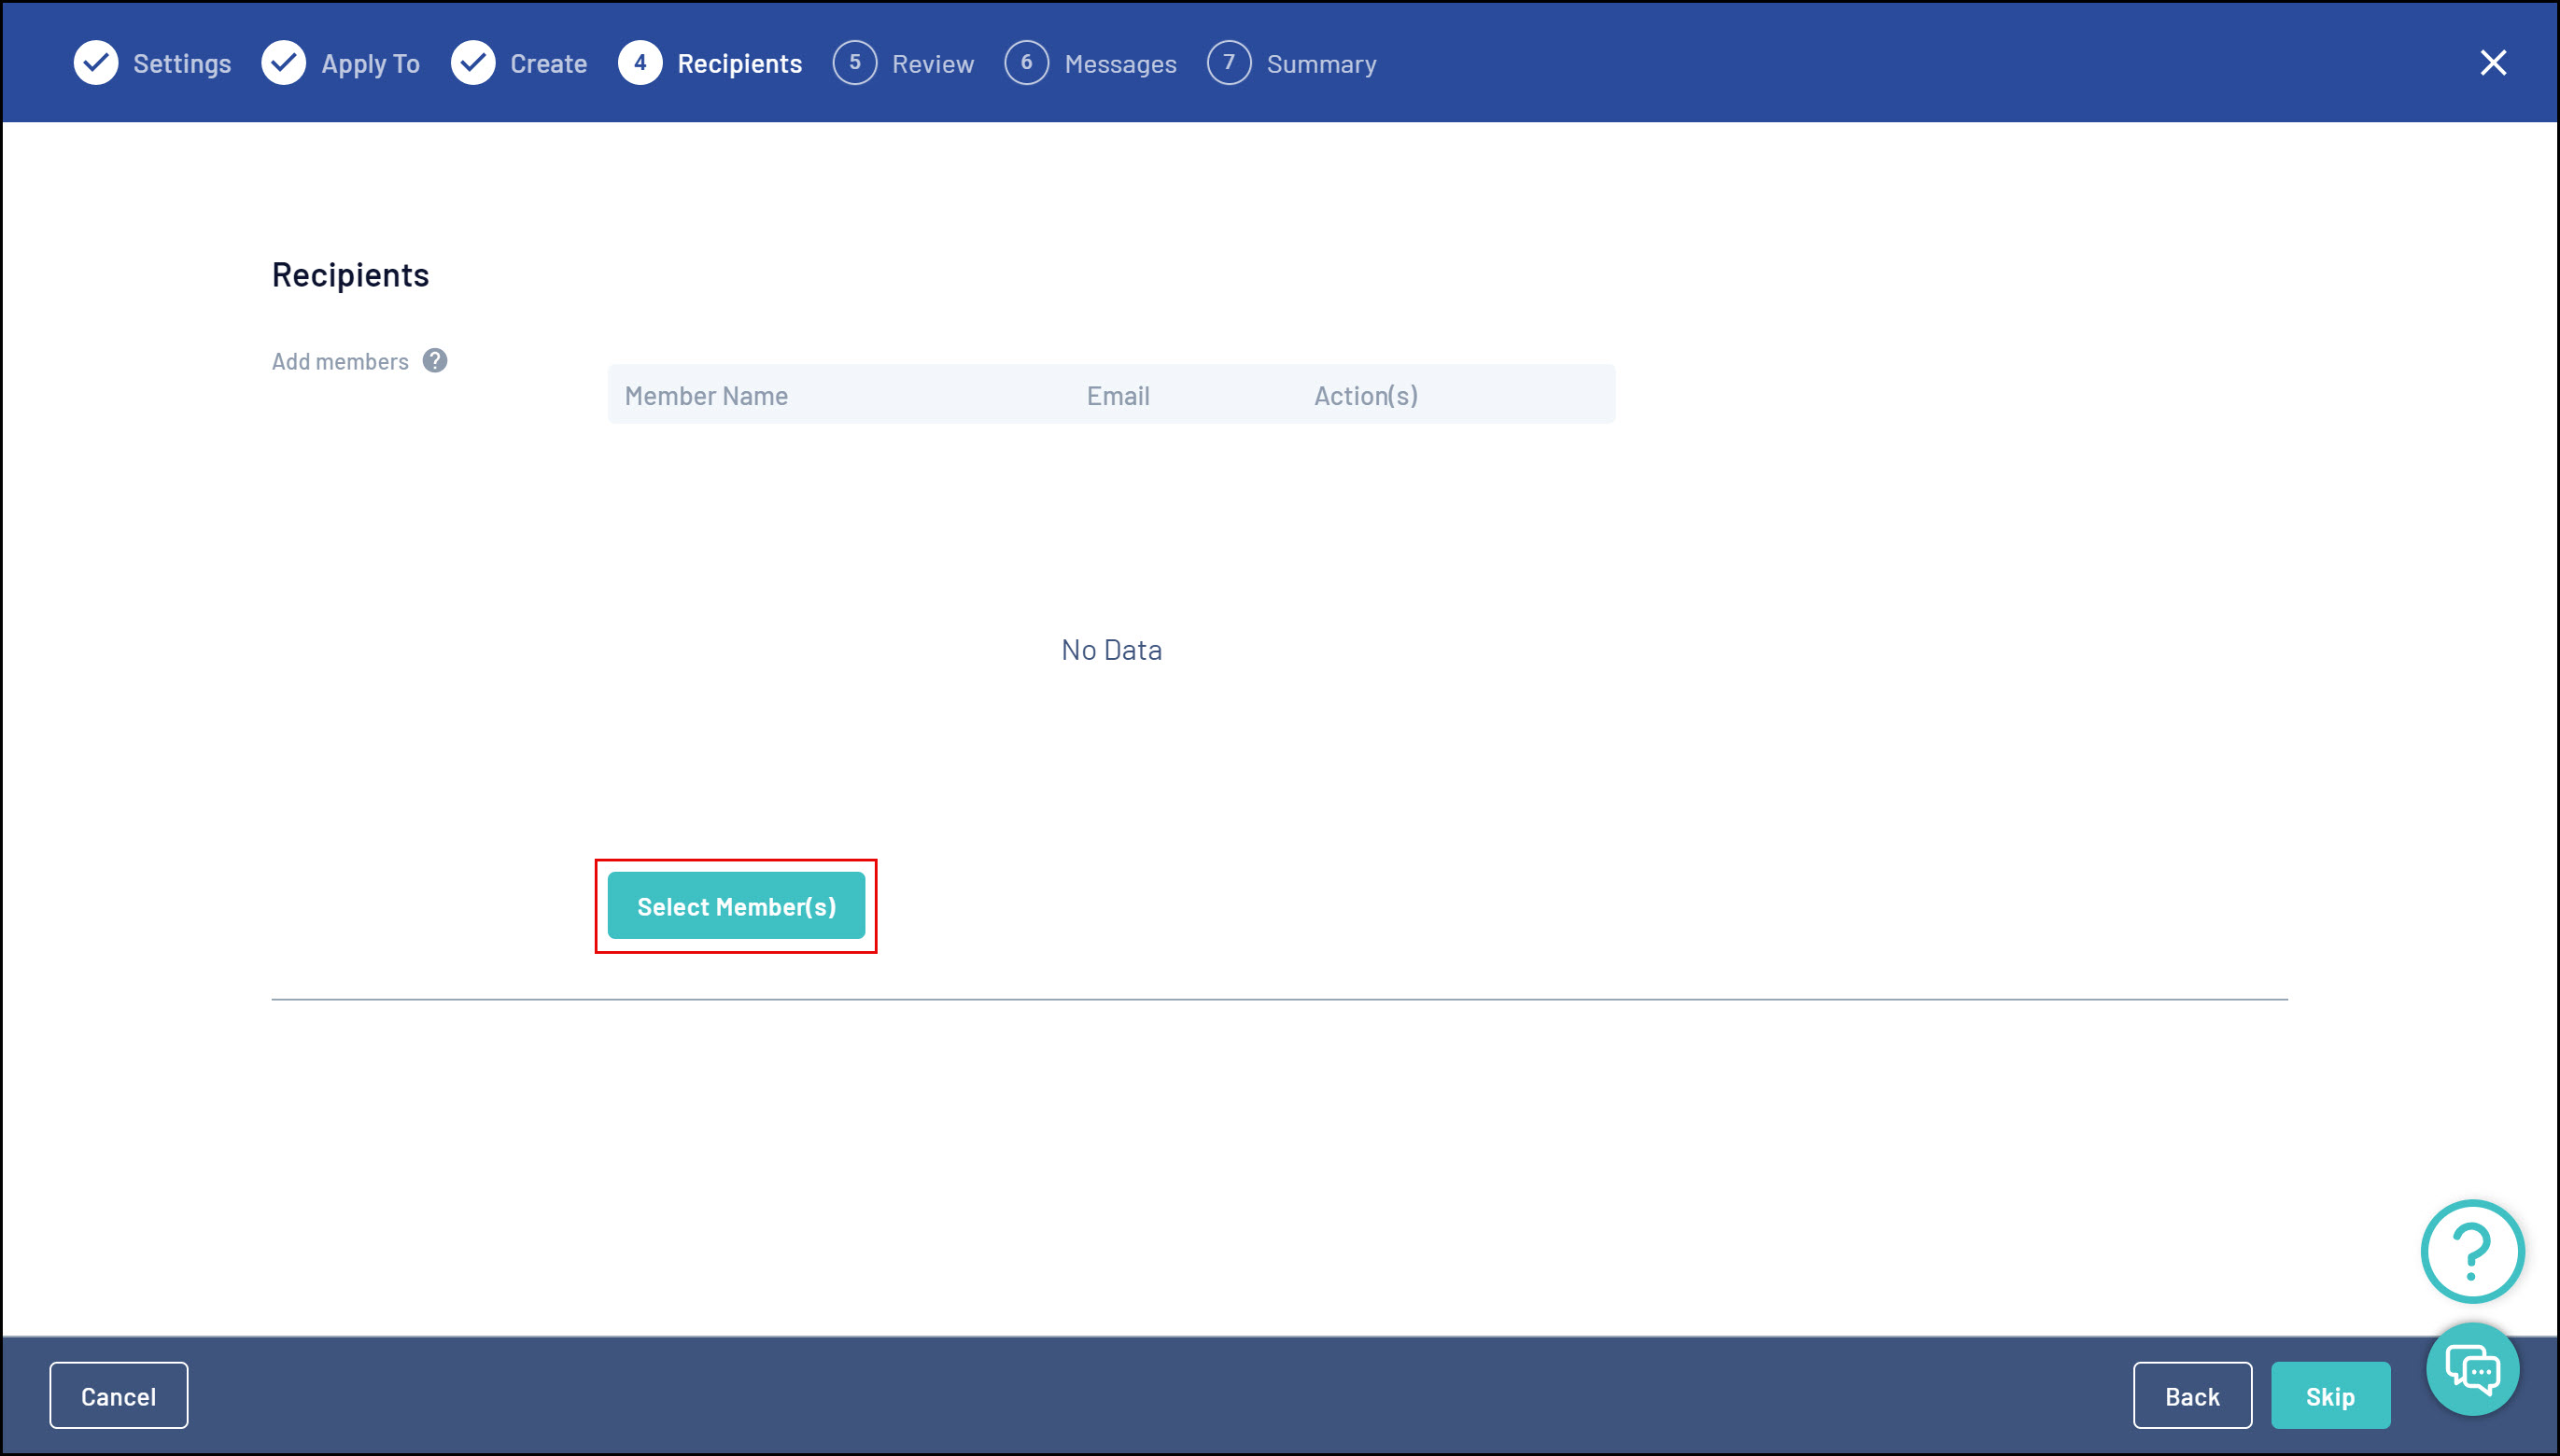
The Recipients page is where you select who will receive this unique code.
Click the Select Member(s) button and use the checkboxes to select which members you want to receive a code

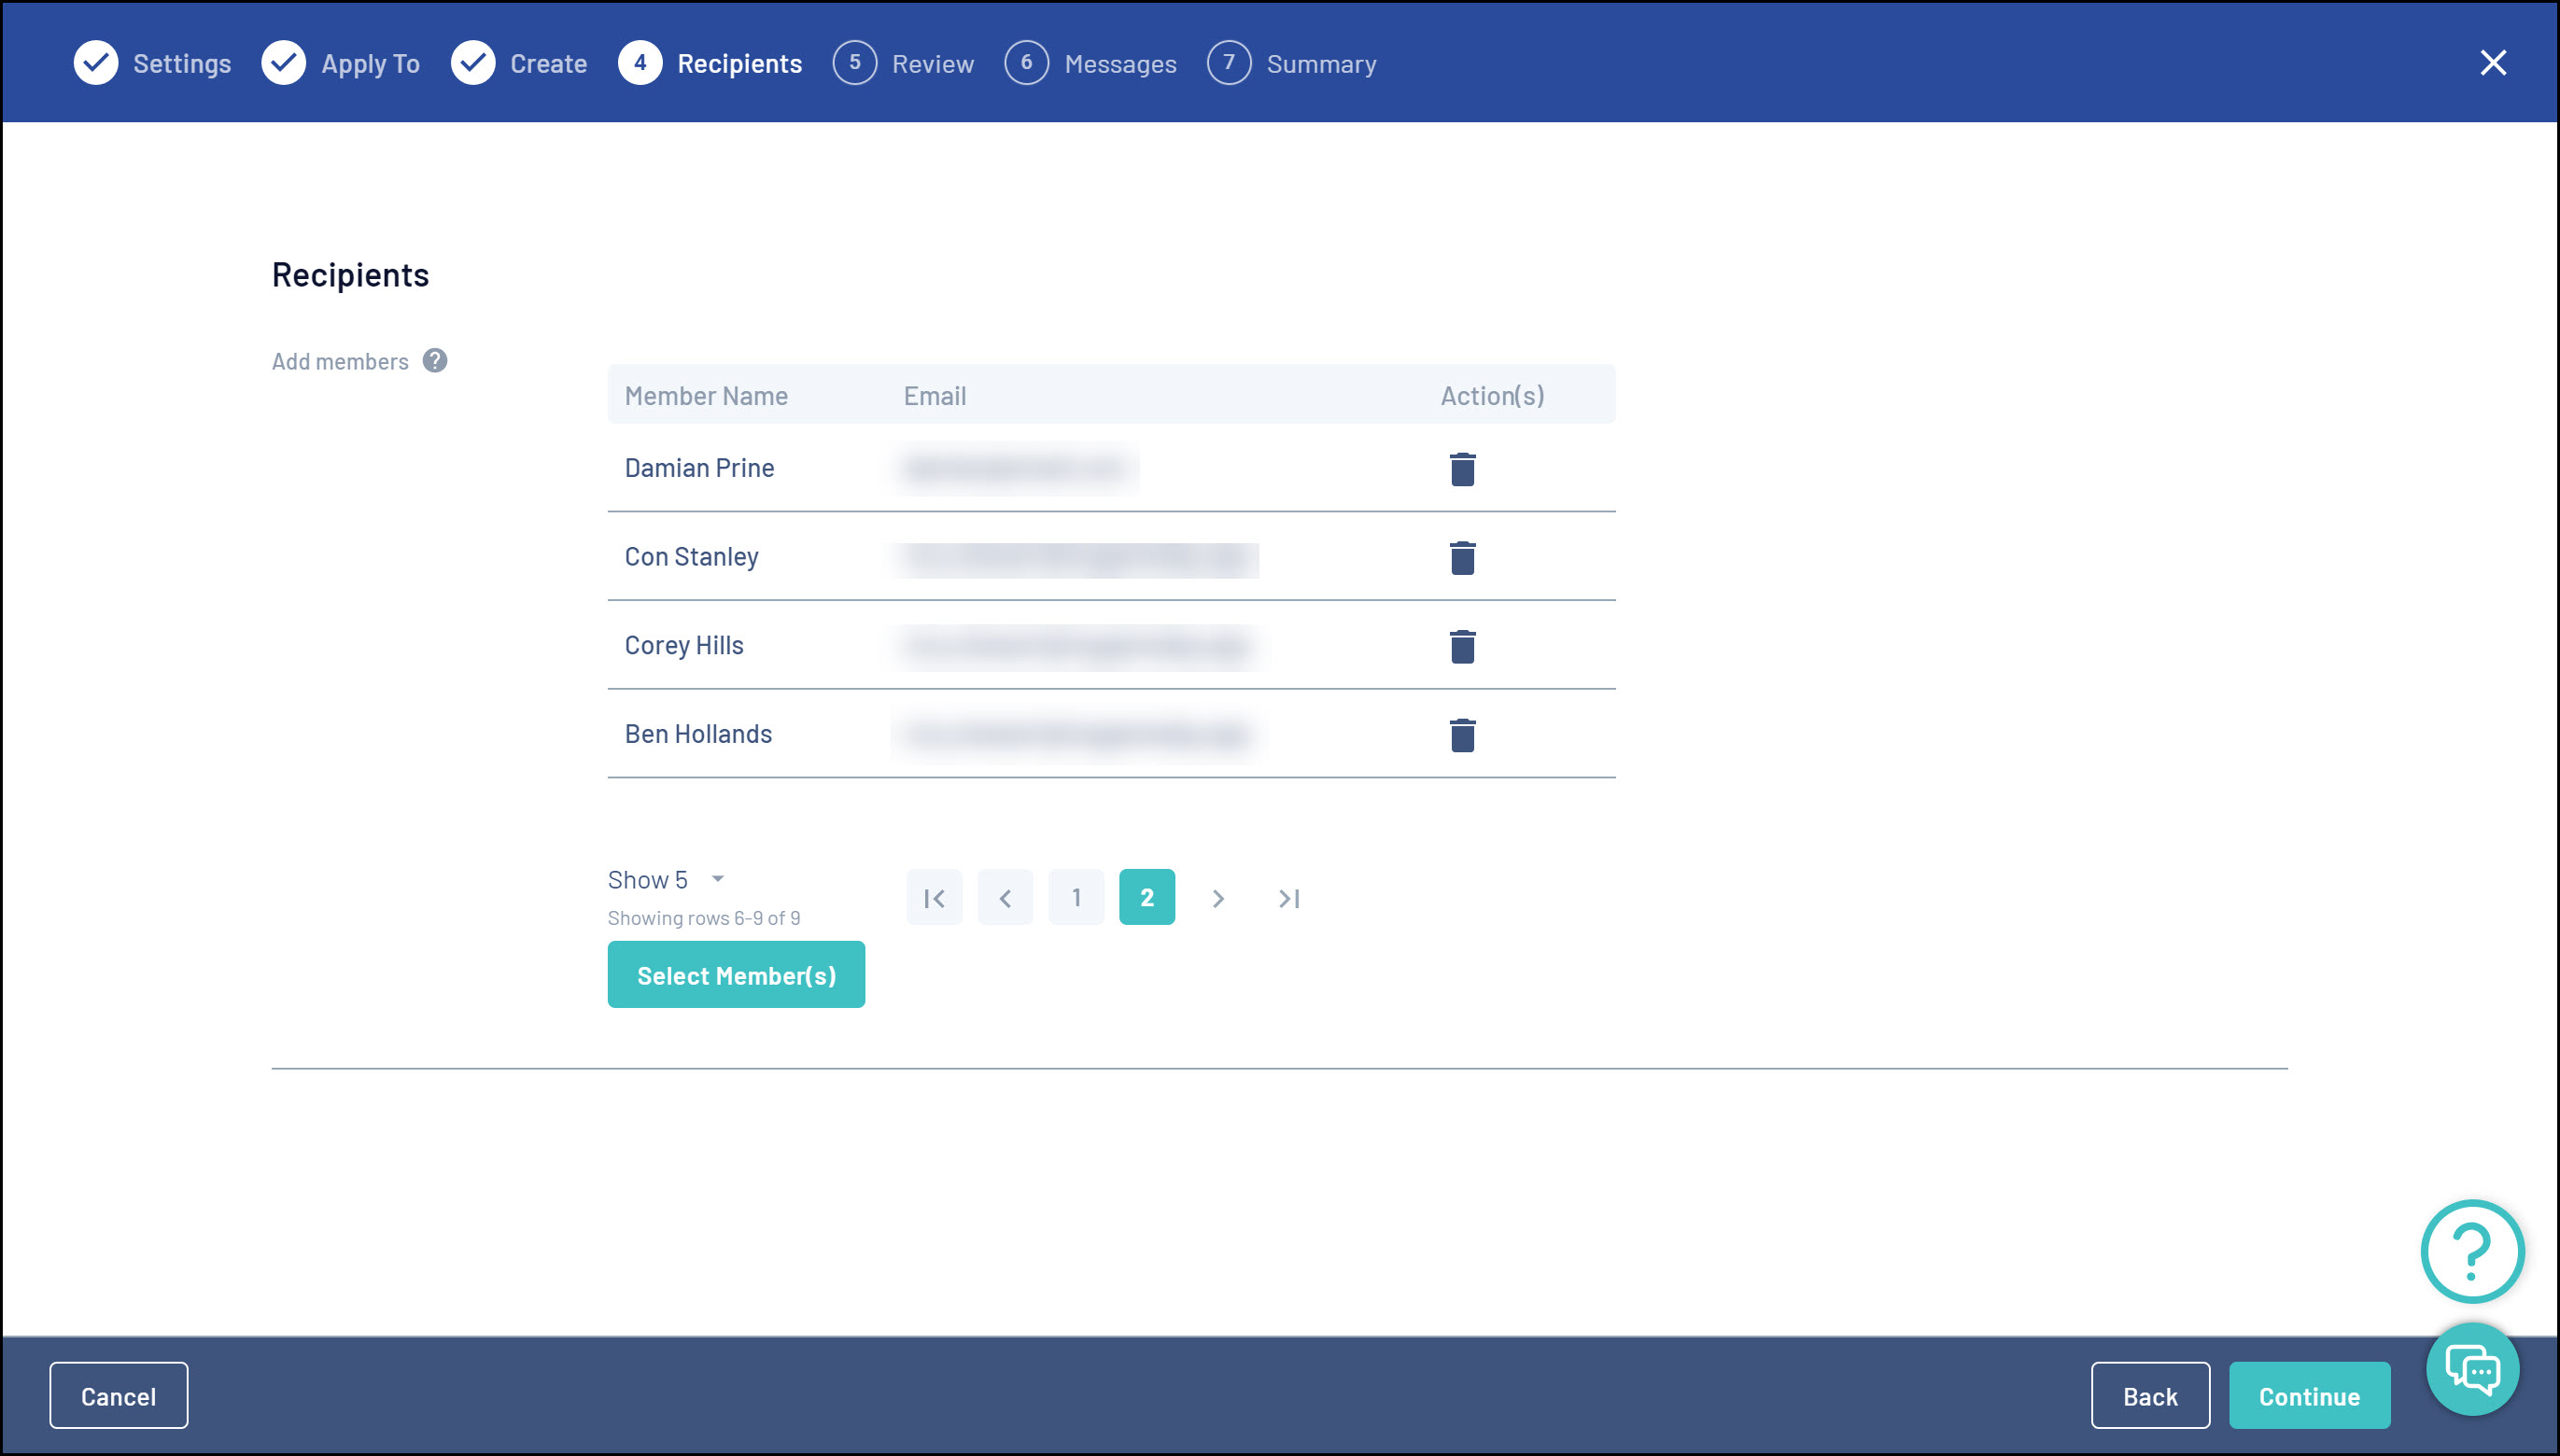
Note: Unique Promo Codes can only be used once. Unique Promo Codes assigned to a particular member may be used by another member when registering.
Once you have selected the members, click CONTINUE
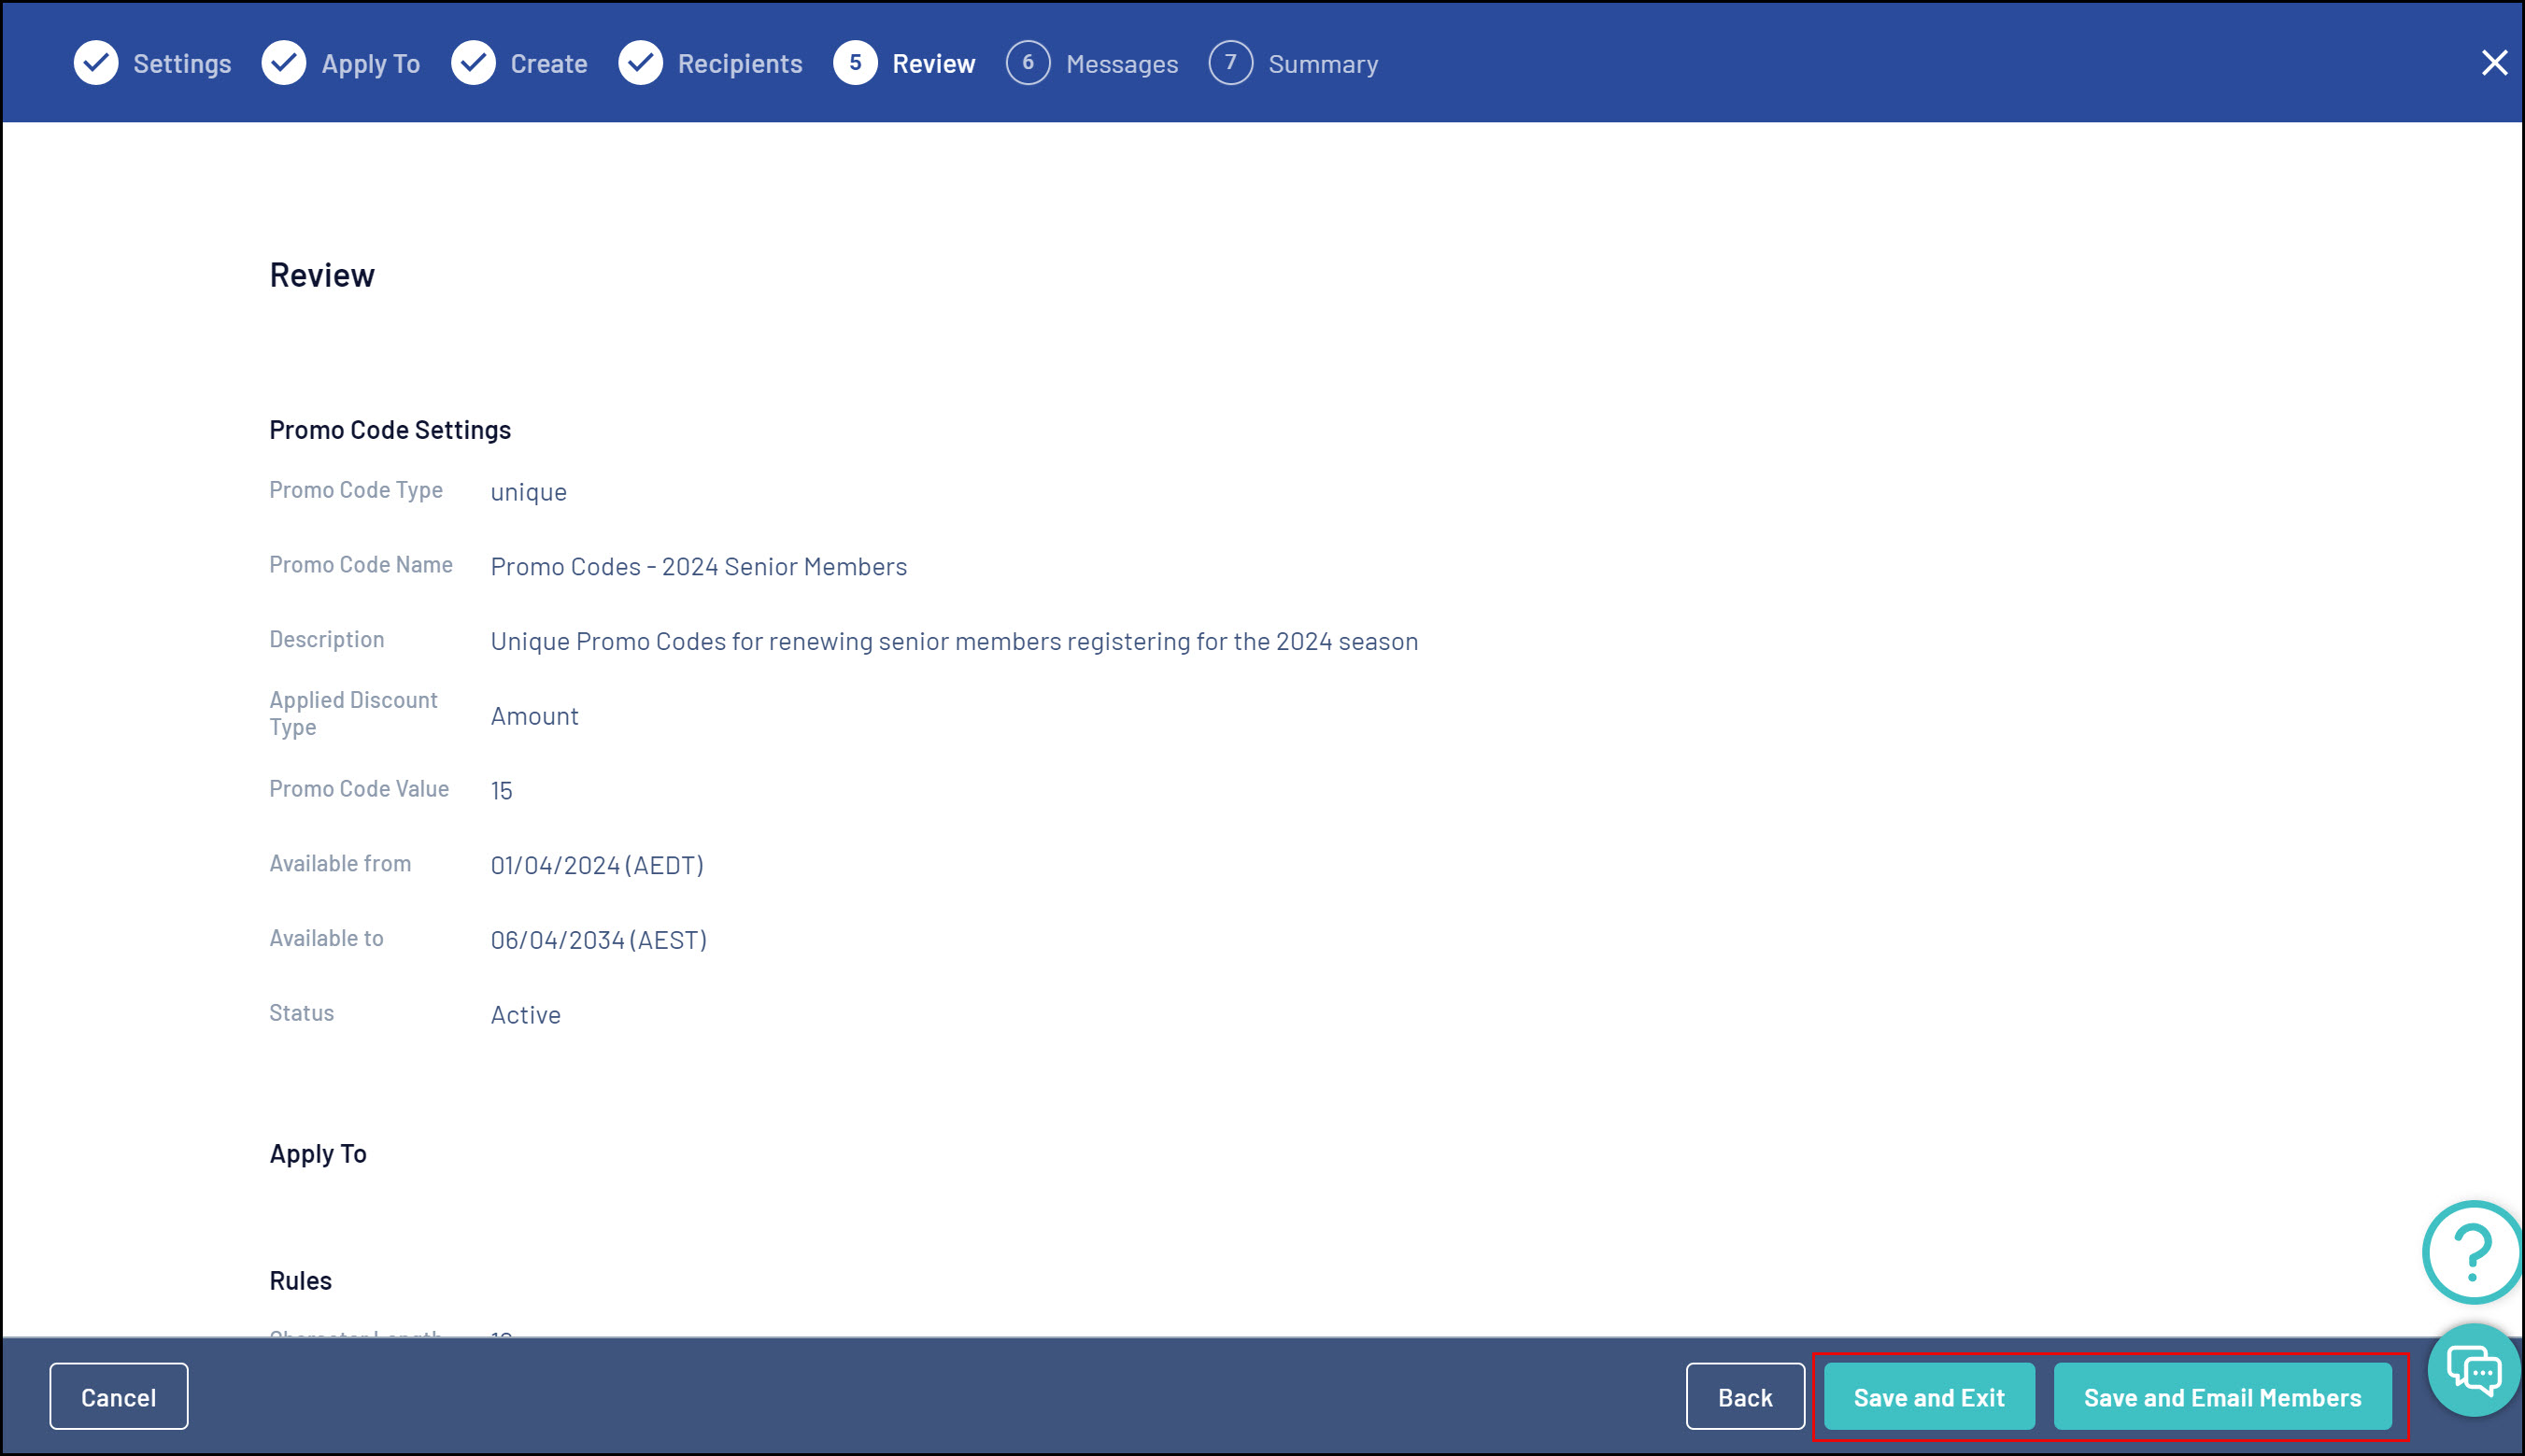
Reviewing and Sending your Promo Codes
You can now verify all of the information entered so far before finalising your promo code.
At this stage, once you are happy with all of the details, you can either click Save and Exit, which will create the promo codes but will not notify the members selected, or click Save and Email Members, which will create the codes and email those members with the promo code applied to them.
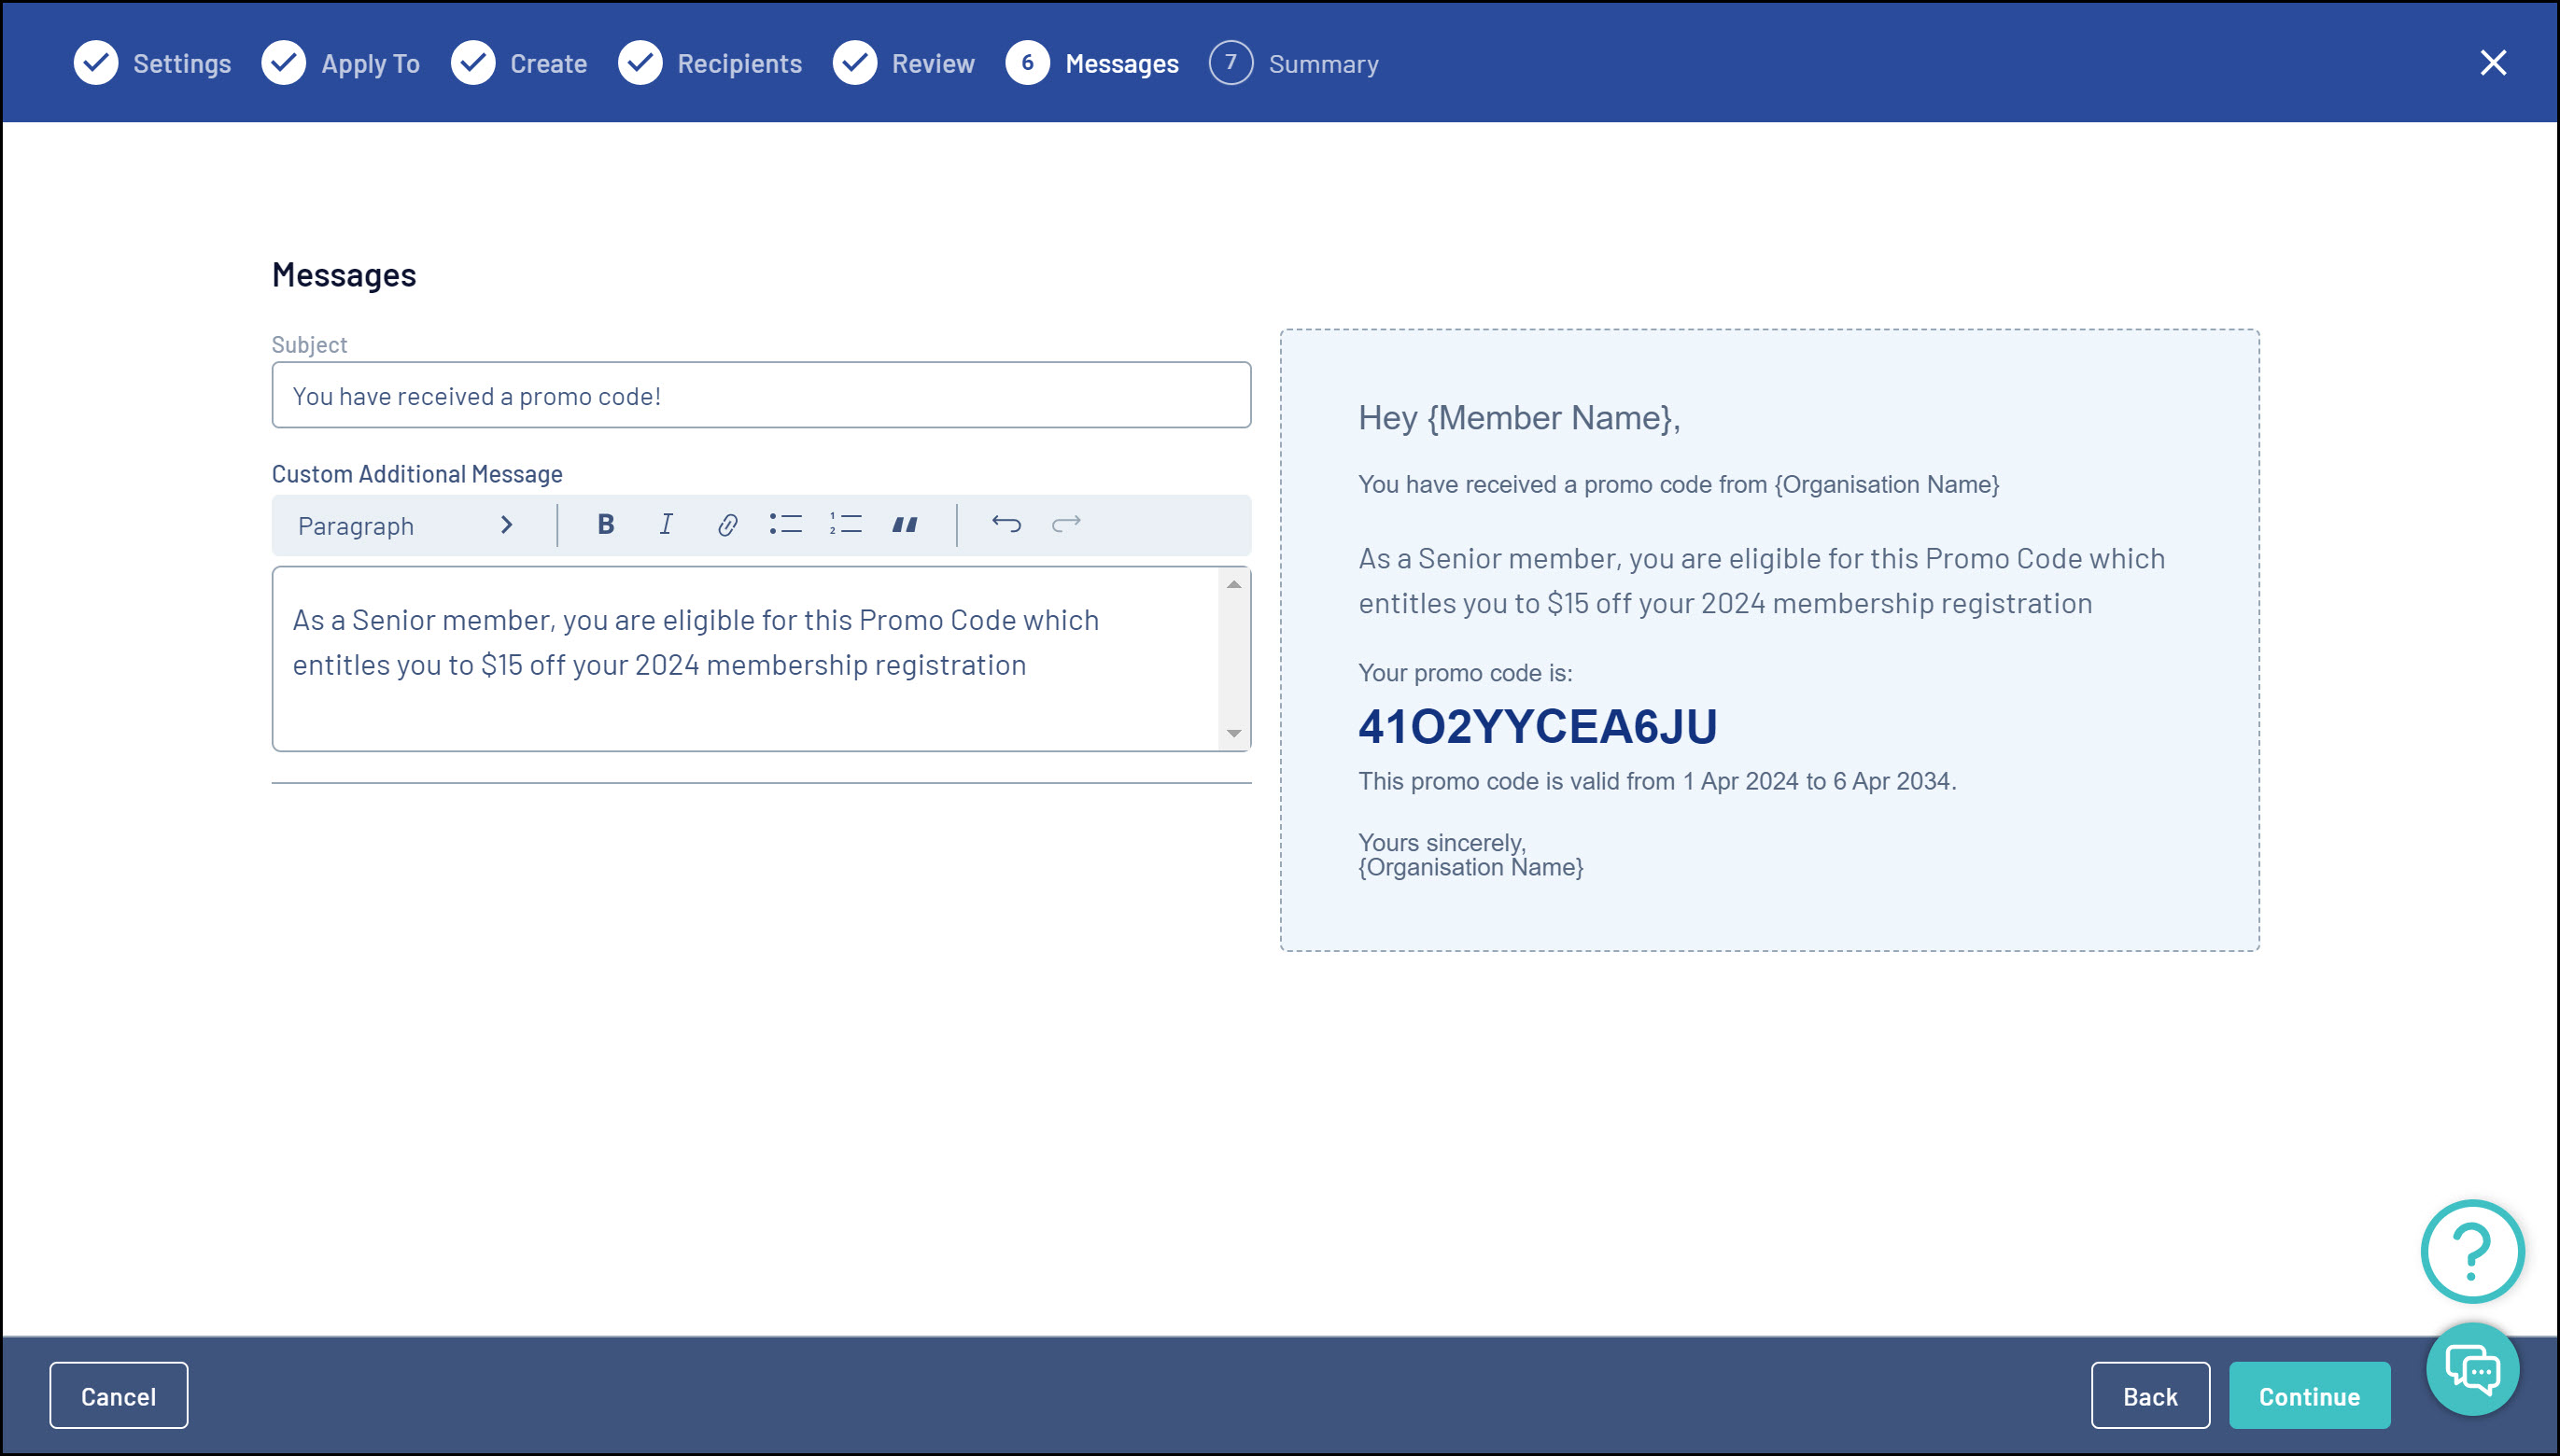
If you select Save and Email Members, this will take you to the Messages page where you can edit the email message that will be sent out.
Here, you can enter a custom message and a template of the email will be displayed on the right-hand side of the screen.
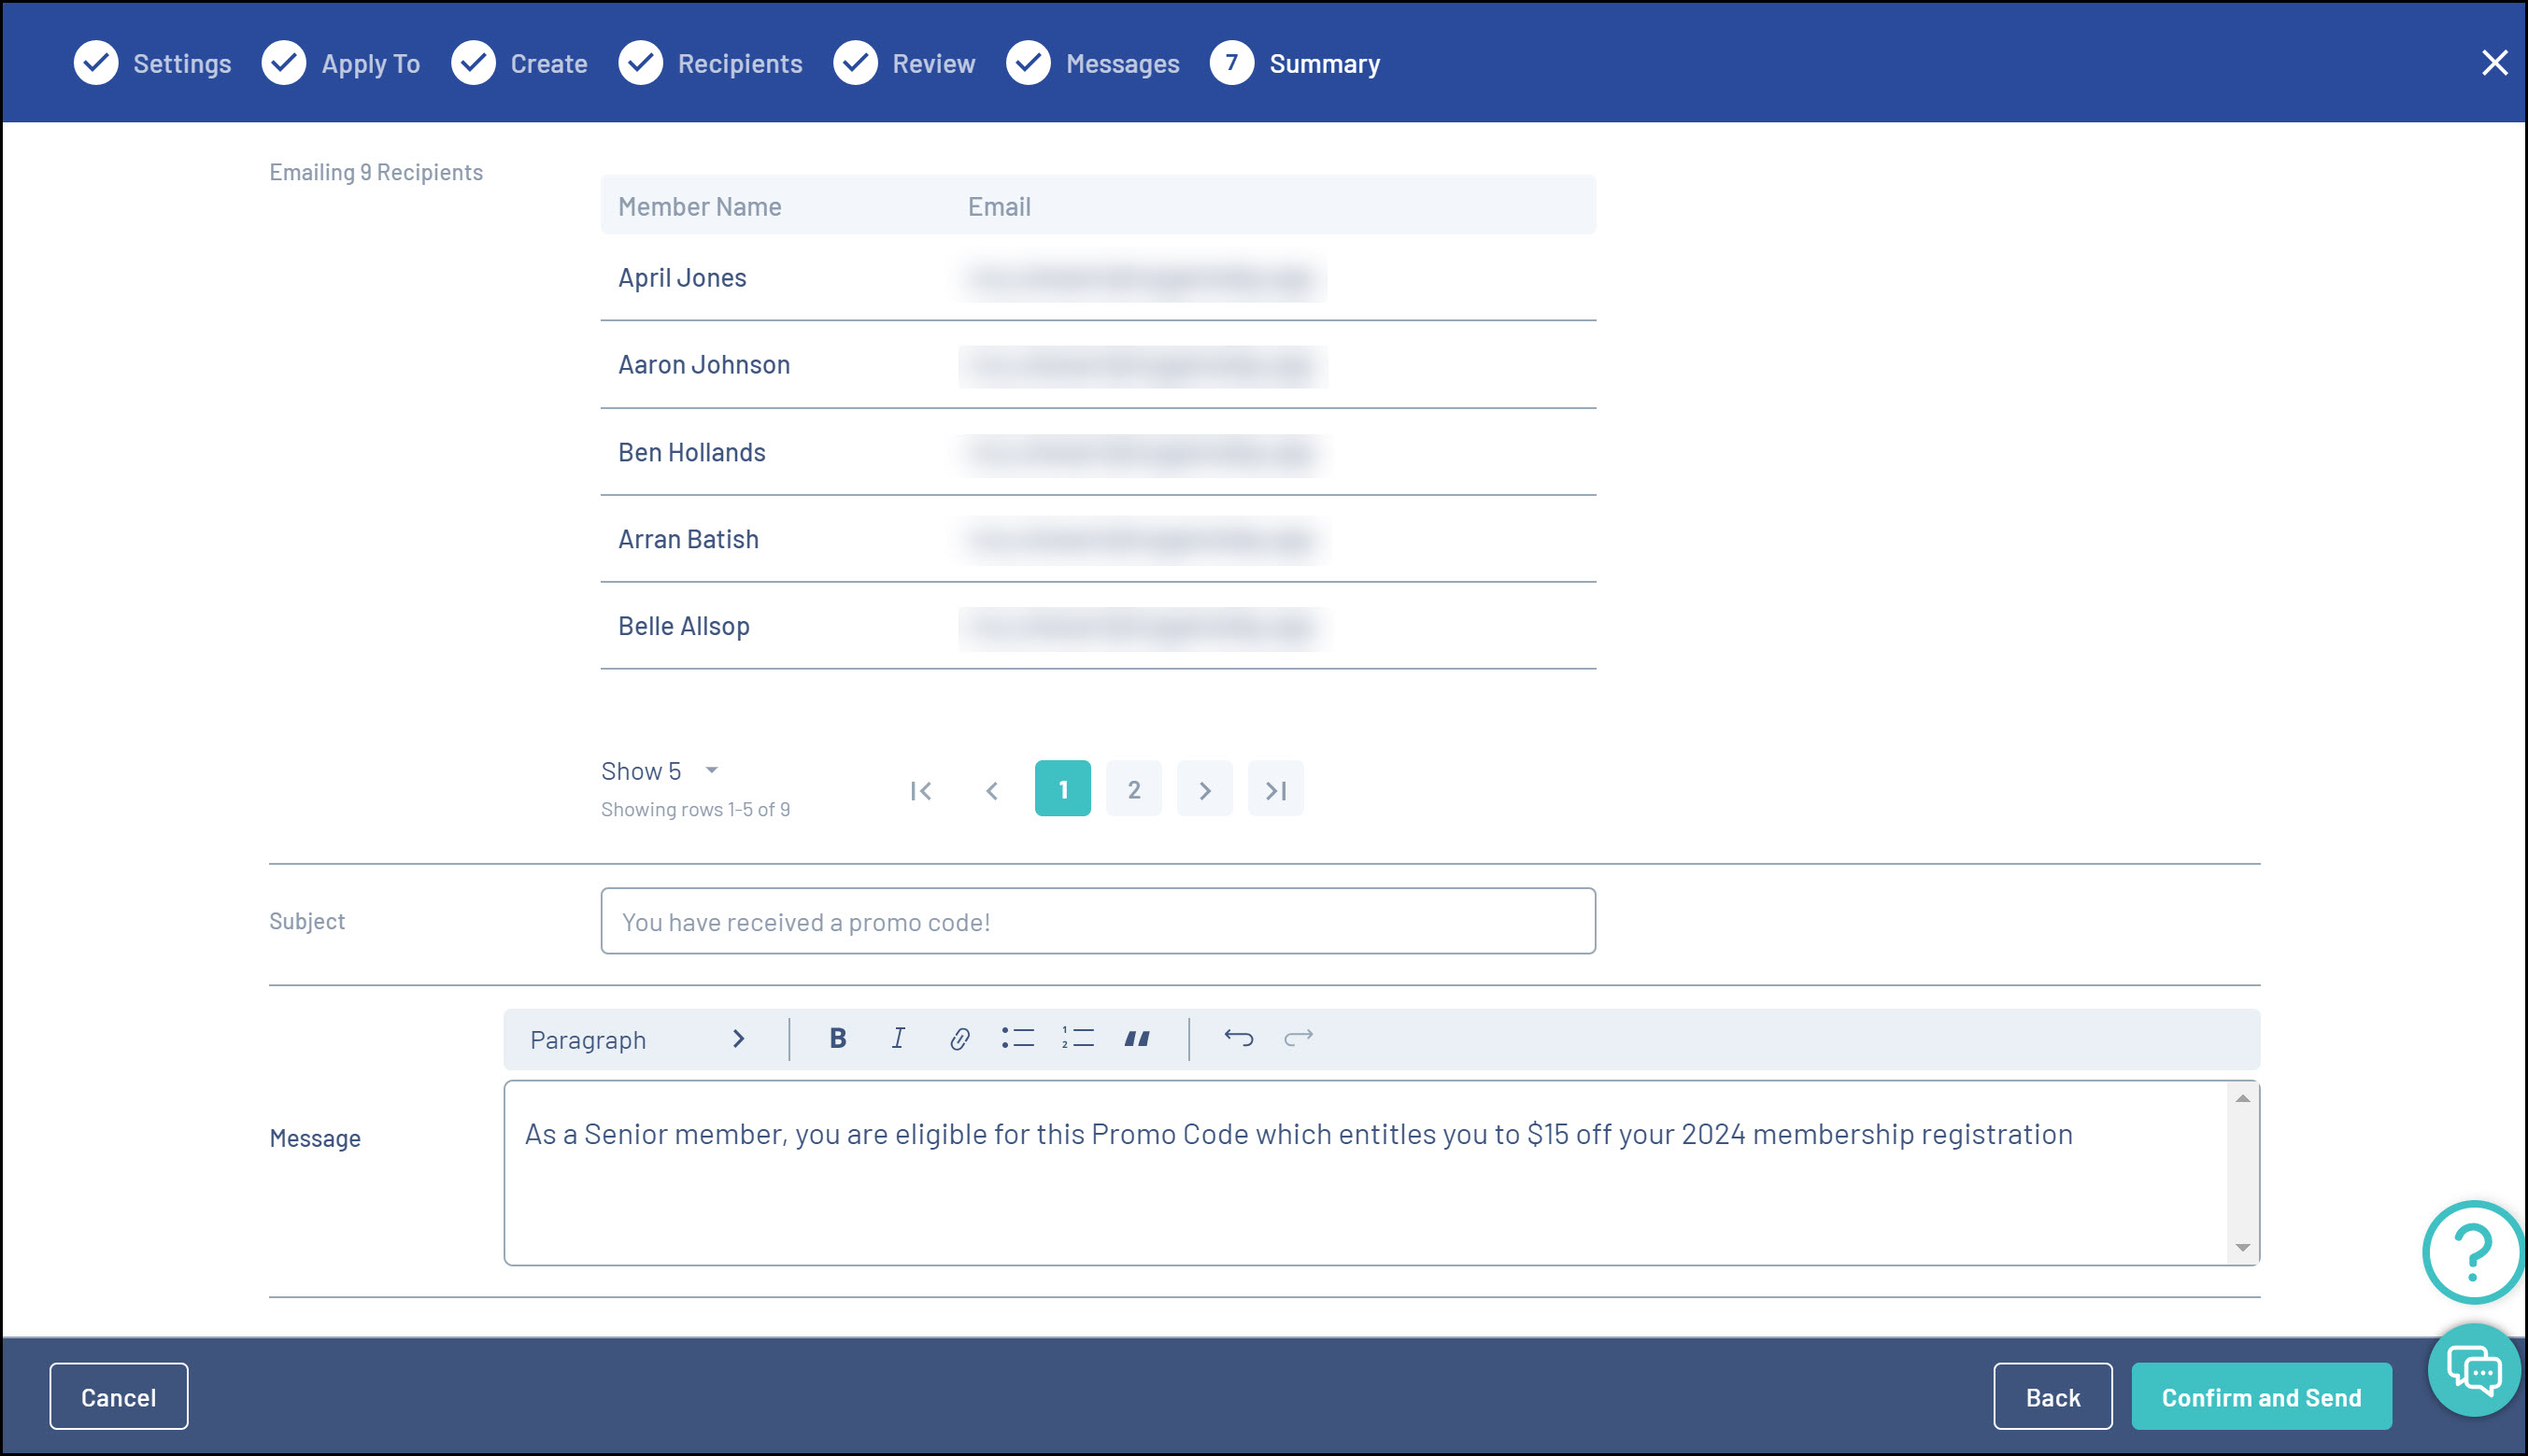
After clicking CONTINUE, you will be taken to the Summary page, where you will see any email recipients (if you have chosen to email members), as well as the email message being sent.
To finish the process, click CONFIRM AND SEND. This will create your promo codes and notify any members selected to receive the email.