Let’s start off simple. Say you just want to build a basic blog post layout that includes:
- Regular text
- An image
- A quote
- An embedded YouTube video
Here’s how you’d do it with Gutenberg:
First, you’d write your entire post in the editor. Or, if you’re like me and prefer to write in Google Docs, you can paste it all in and then Gutenberg will automatically convert it to blocks.
Adding the non-text blocks
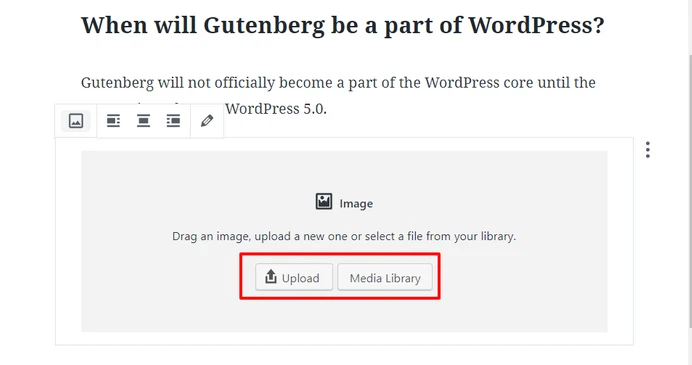
Now that your content is split into blocks, you can hover over the spot where you want to insert your first image and click the plus icon. That will create a break. Then, click the plus icon again to insert the image block:
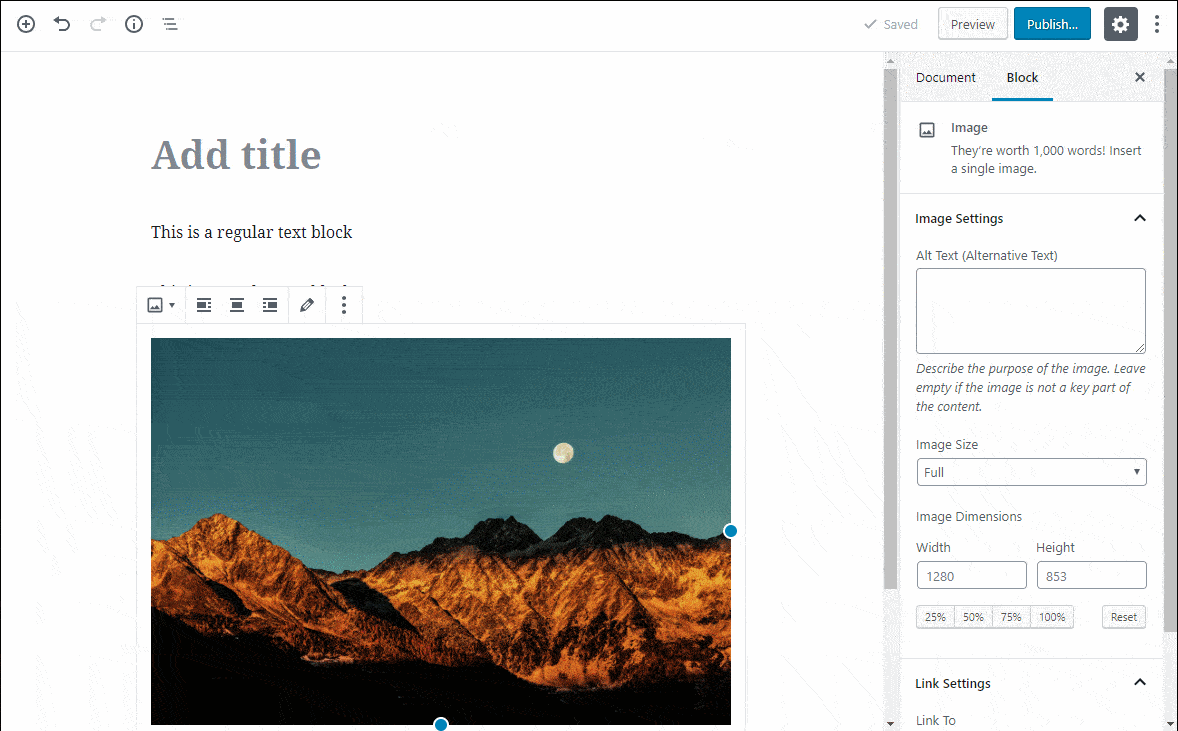
This will allow you to insert an image block, from which you can upload or select images in a similar manner to the current WordPress editor:
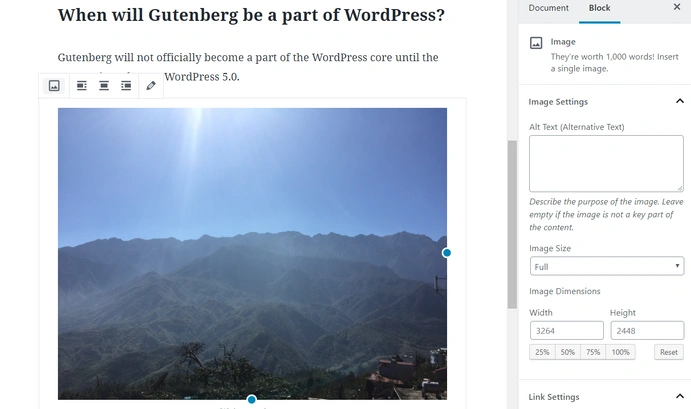
Once you select your image, you should see it right there in your page layout:
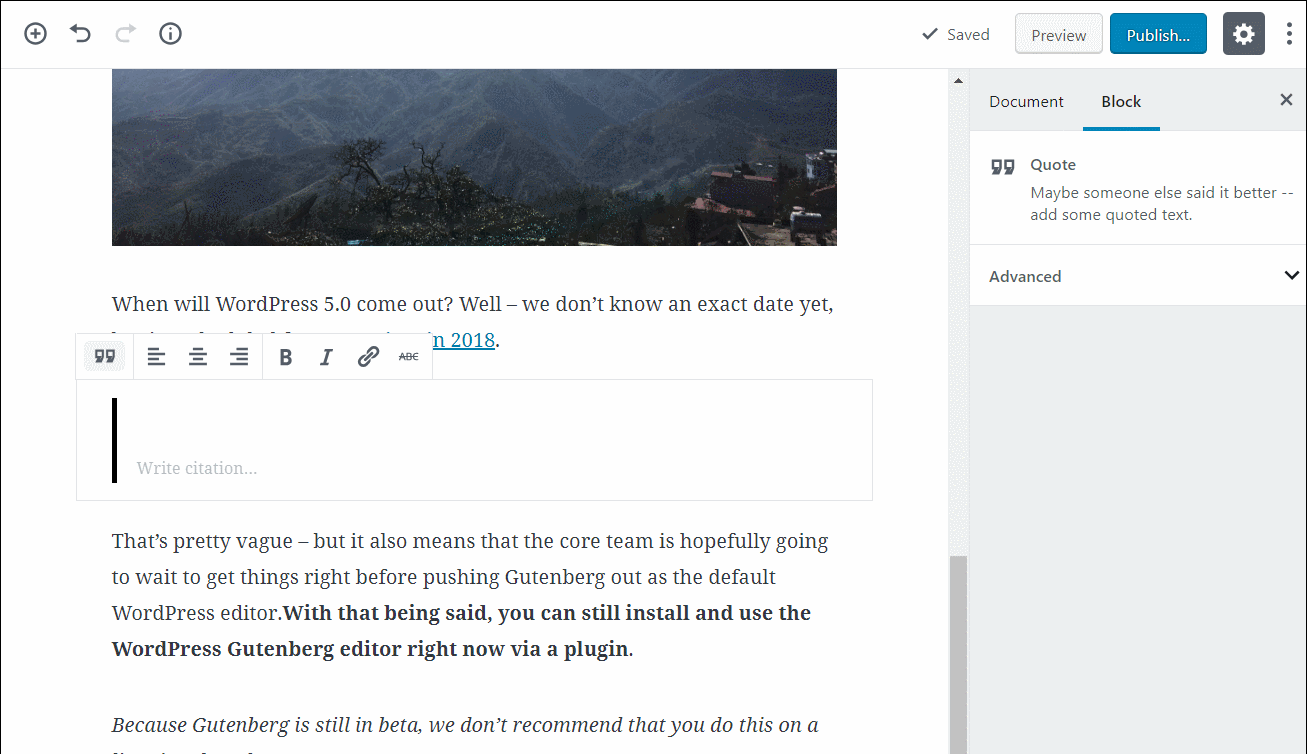
Next, hover over the spot where you want to insert the pull quote and use the same approach to insert another block. You can either search for “quote” or go to the Common Blocks section:
Then, you’ll see your new pull quote block. To create your quote, all you need to do is click into the block and type:
To insert a YouTube video, you can add a new YouTube block from the Embedstab. To insert a video, all you need to do is enter the URL and click Embed:
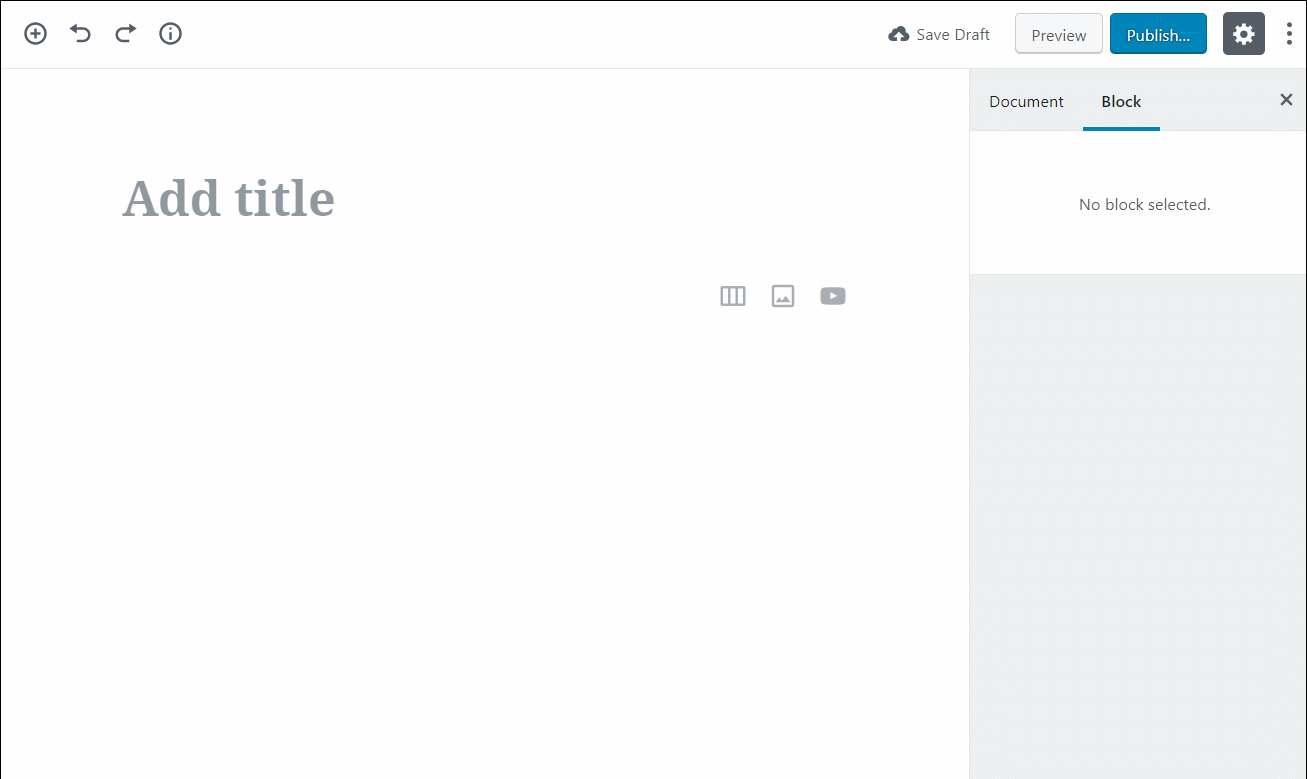
Optional – creating different columns
Want to get even more creative? Gutenberg now includes an experimental columns feature that lets you quickly create multiple columns. All you need to do is add the Columns (Beta) block from the Layout Elements section. Then, you can insert other blocks inside it:
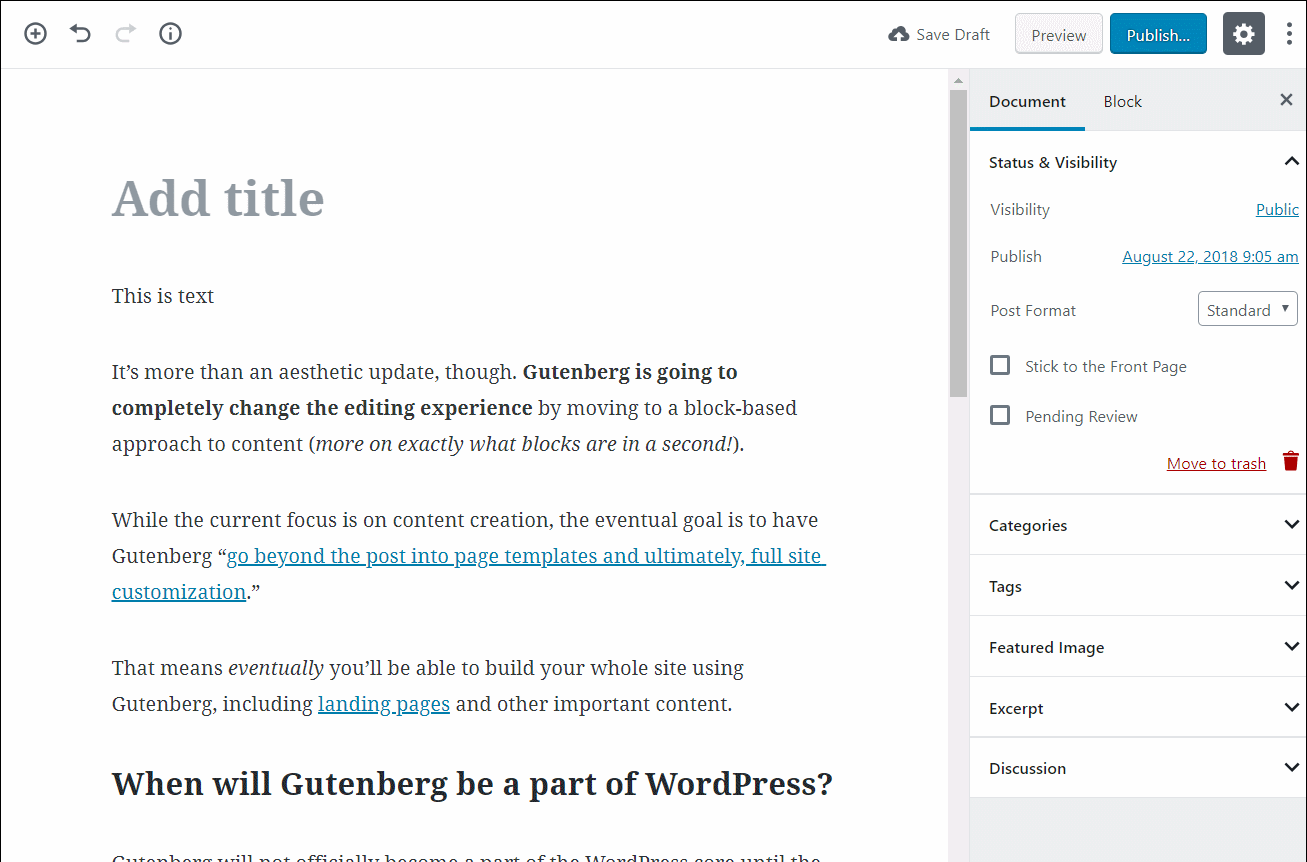
Once you’re finished, all you need to do is click the Publish button:

And you’ll have your formatted blog post on the front-end.
How to customize individual blocks
Because the WordPress Gutenberg editor includes a ton of different blocks, I can’t show you how to use each individual block.
But I can give you a basic framework that applies to all blocks.
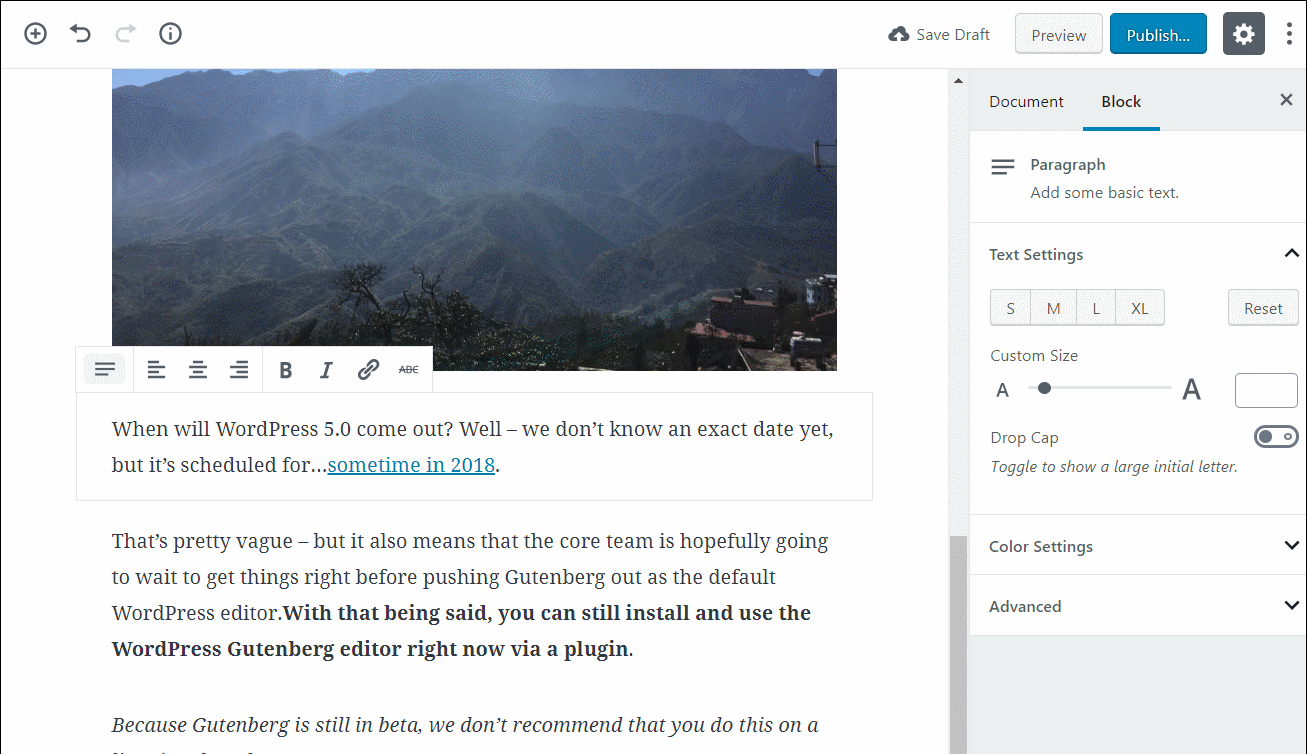
Basically, you control the content in the actual body of the editor:
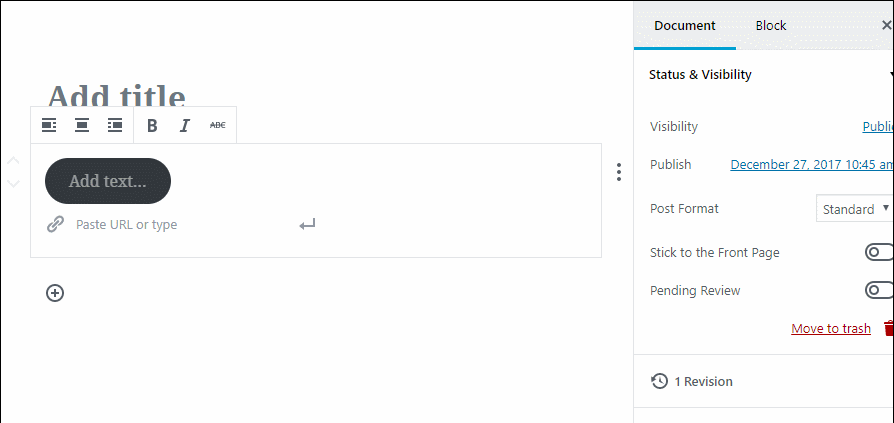
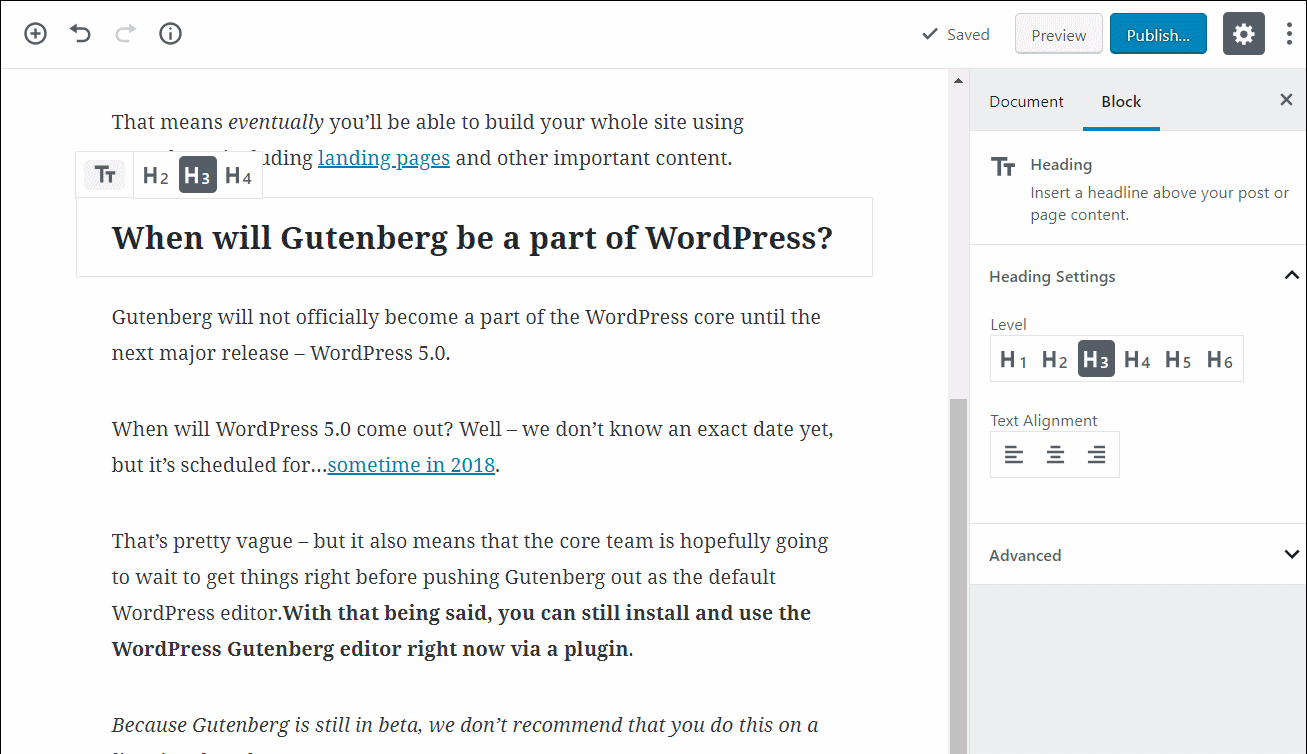
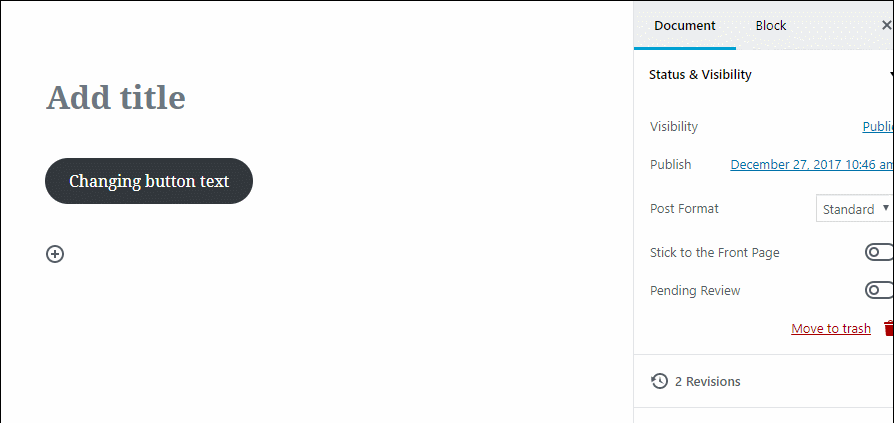
For basic text styling and alignment, you can use the menu bar that appears when you hover over a block:

And for more advanced styling, you’ll usually style the block in the Blocksettings tab.
To access that tab, select the block you want to edit and browse to the Block tab:
How to rearrange individual blocks
To rearrange blocks, you have two options. You can use the Up or Down arrow when hovering over a block to move the block in that respective direction:

Or, you can drag and drop blocks. To activate the drag and drop functionality, you’ll need to hover your mouse over the six dots between the up and down arrows
Putting it all together
Once you pick up the flow of how things work with the new block editor, it’s fairly painless and intuitive.
At first, you might experience some growing pains and struggle to perform basic actions that you’ve taken for granted.
But once you get the hang of things – you should be cruising through building layouts. And with the more advanced blocks that Gutenberg comes with, you’ll have more flexibility than the TinyMCE WordPress Editor.
NOTE: We have kept all Silver and Bronze sites using the Classic WordPress editor through the use of a plugin released by WordPress. WordPress have announced that this plugin will not be supported beyond 2020 which is why familiarising yourself with the key layout differences is important
