Adding Content with the Visual Editor
FOR A FULL DEMONSTRATION VIDEO, PLEASE CLICK THE LINK BELOW:
https://drive.google.com/file/d/1z29msSDpIWMit95p9TAtxqt9LxSbg0C9/view?usp=sharing
The editor used to enter content into your Page or News article is very easy to use. It’s much like using a regular word processor (Microsoft Word), with toolbar buttons that allow you to Bold (Bold) or Italicize (Italic) text or enter in Headings (Style) or bullet points (Bulleted List, Numbered List).
When adding content to your page, the Visual Editor expands to fit your content, rather than simply scrolling. On top of that, no matter how tall the Visual Editor becomes, the toolbar buttons will always be available by sticking to the top of the page.
At the top of the editor there are two tabs, Visual and Text (Visual/Text). These switch the editor view between the Visual Editor and the Text editor. The Text view will enable you to view the HTML code that makes up your content. For the more experienced users this can be helpful at times but for those not familiar with HTML tags, it’s not recommended.
When creating a Page or News article, the first thing to do is enter in your title in the top entry field where it says Enter title here. After moving the cursor down to the editor, a Permalink is created for your page.
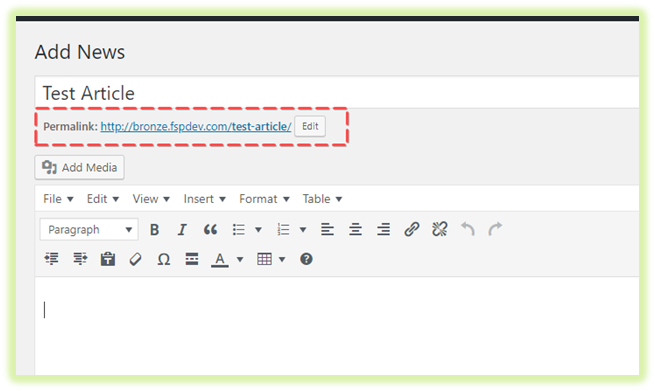
Permalinks are the permanent URL’s to your individual Posts, Pages, Categories etc.. Though not usually necessary, you can manually edit your permalink by clicking on the actual permalink (the part after the domain name with the yellow background) or by clicking the Edit button next to it. Once you’ve modified it, click Ok to save or Cancel to cancel your changes.
At the top of the editor where your content is written, there are numerous formatting buttons. Clicking the Toolbar Toggle button (Toolbar Toggle) will show or hide a second line of formatting buttons which gives you extra functionality.
