The banner section allows you to display colour, text, an image or video as the main ''header'' for your website. You can also set call to actions (CTA's) to display underneath here as well. If you have the Countdown Add On, this can replace the CTA's.
NOTE: The Countdown add on has to be enabled for your organisation. To check if this is available for your website, check your GameDay Dashboard / Stack Commerce Your Website Features.
1. Under the SECTIONS header click on the BANNER tab (usually defaulted).

2. If this panel is not set to show on your website yet, then make sure you click the button to SHOW this widget on your website and adjust the order of where you would like this to sit on your website home page. Typically this is in position 1.
3. Select what background type you would like this banner to display as:
- colour
- image
- video

4. Input the relevent background type you want to use.
- If wanting to use a colour, input a colour into the BACKGROUND COLOUR section.
- If wanting to use an image, add an image into the BACKGROUND IMAGE section. Ideally 1900 wide.
- If wanting to use a video, input the video URL into the VIDEO BACKGROUND section. Use a 16:9 ratio for the video.

The banner also requires you to input a heading for this banner and a link to either the homepage or elsewhere. This is compulsory within this banner so needs to have something filled out.
5. You can optionally input a HEADING for this banner section as well. This is the text that overlays the background.
This is usually 'Welcome to (organisation name) website'' or something similar.
6. Input a title for the button that appears on this section (e.g click here or more info). Leave it blank if you don't want a button.
7. Input a website link for this button. Or leave blank if you don't want a button.
You also have the ability to create CALL TO ACTIONS (CTA's) or even a COUNTDOWN WIDGET (Add On required) for this banner as well.
8. If wanting to enable these navigate to the Tiles/Counter tab and click the HIDE/SHOW button.
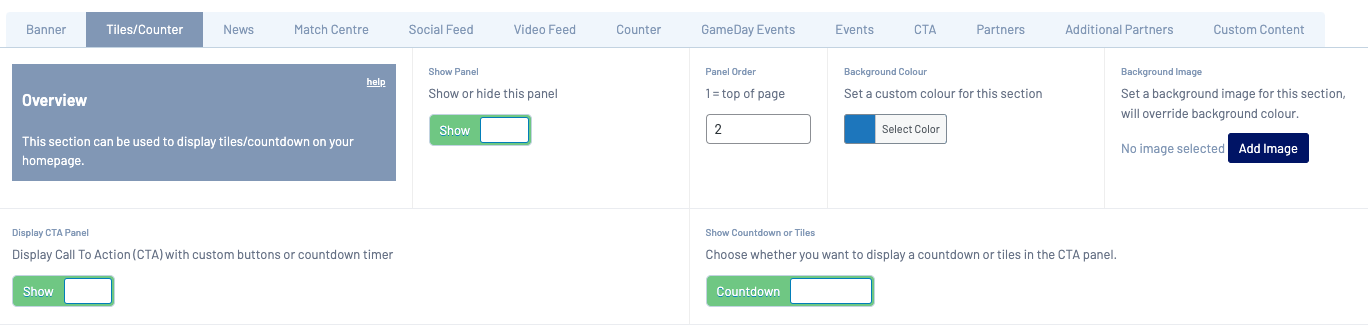
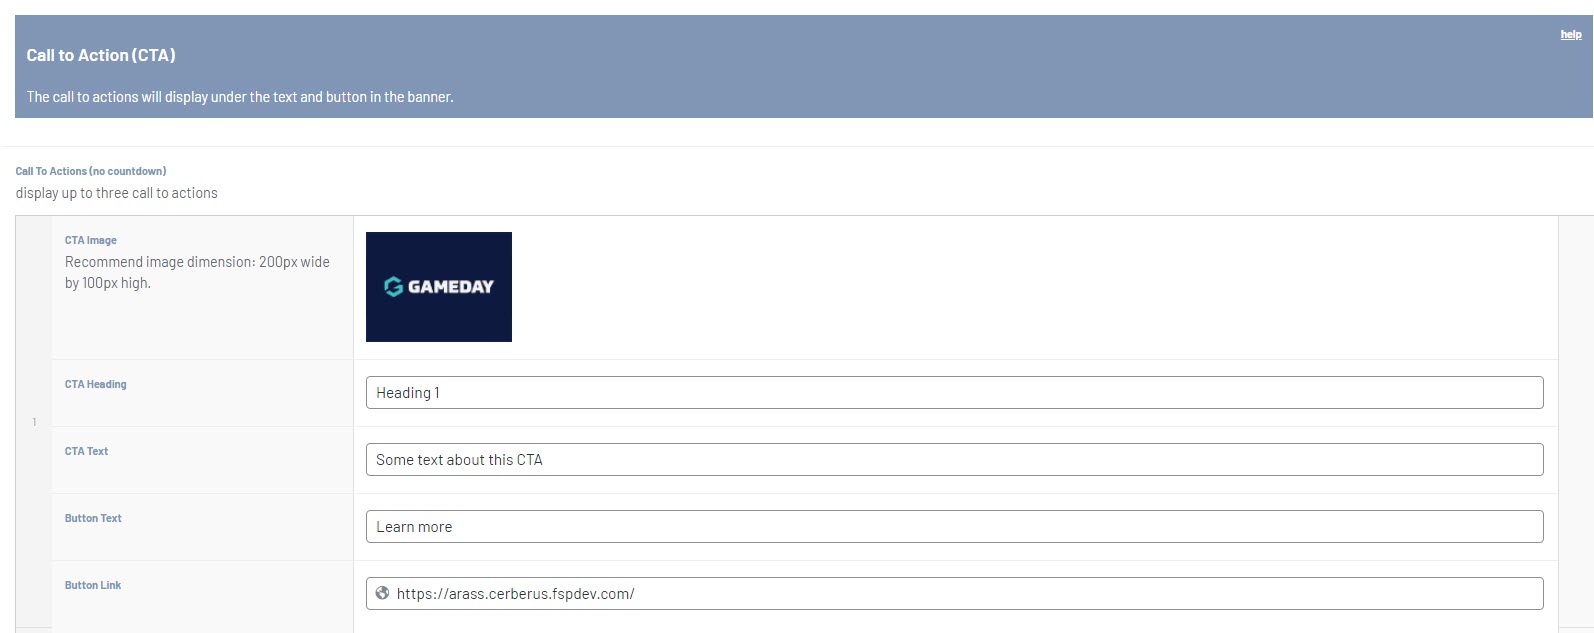
9. If wanting a CTA, input the relevant CTA's you wish to use. Click ADD CTA and fill out the relevant information.
You can display up to three CTA's here.
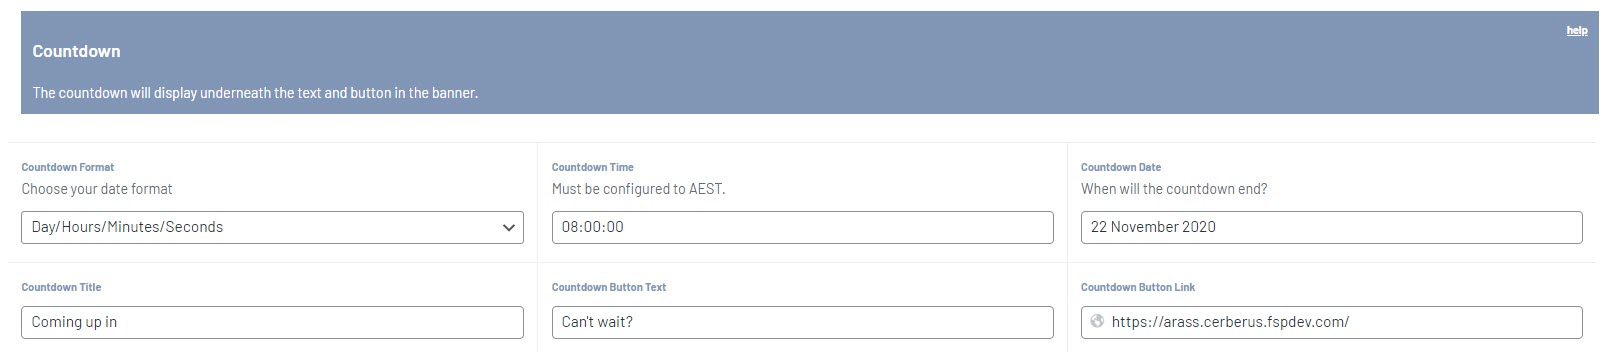
10. Or if you want to use a COUNTDOWN, click the SHOW/HIDE button against that and input the relevant information.

11. Once done, click UPDATE at the top of the webpage.
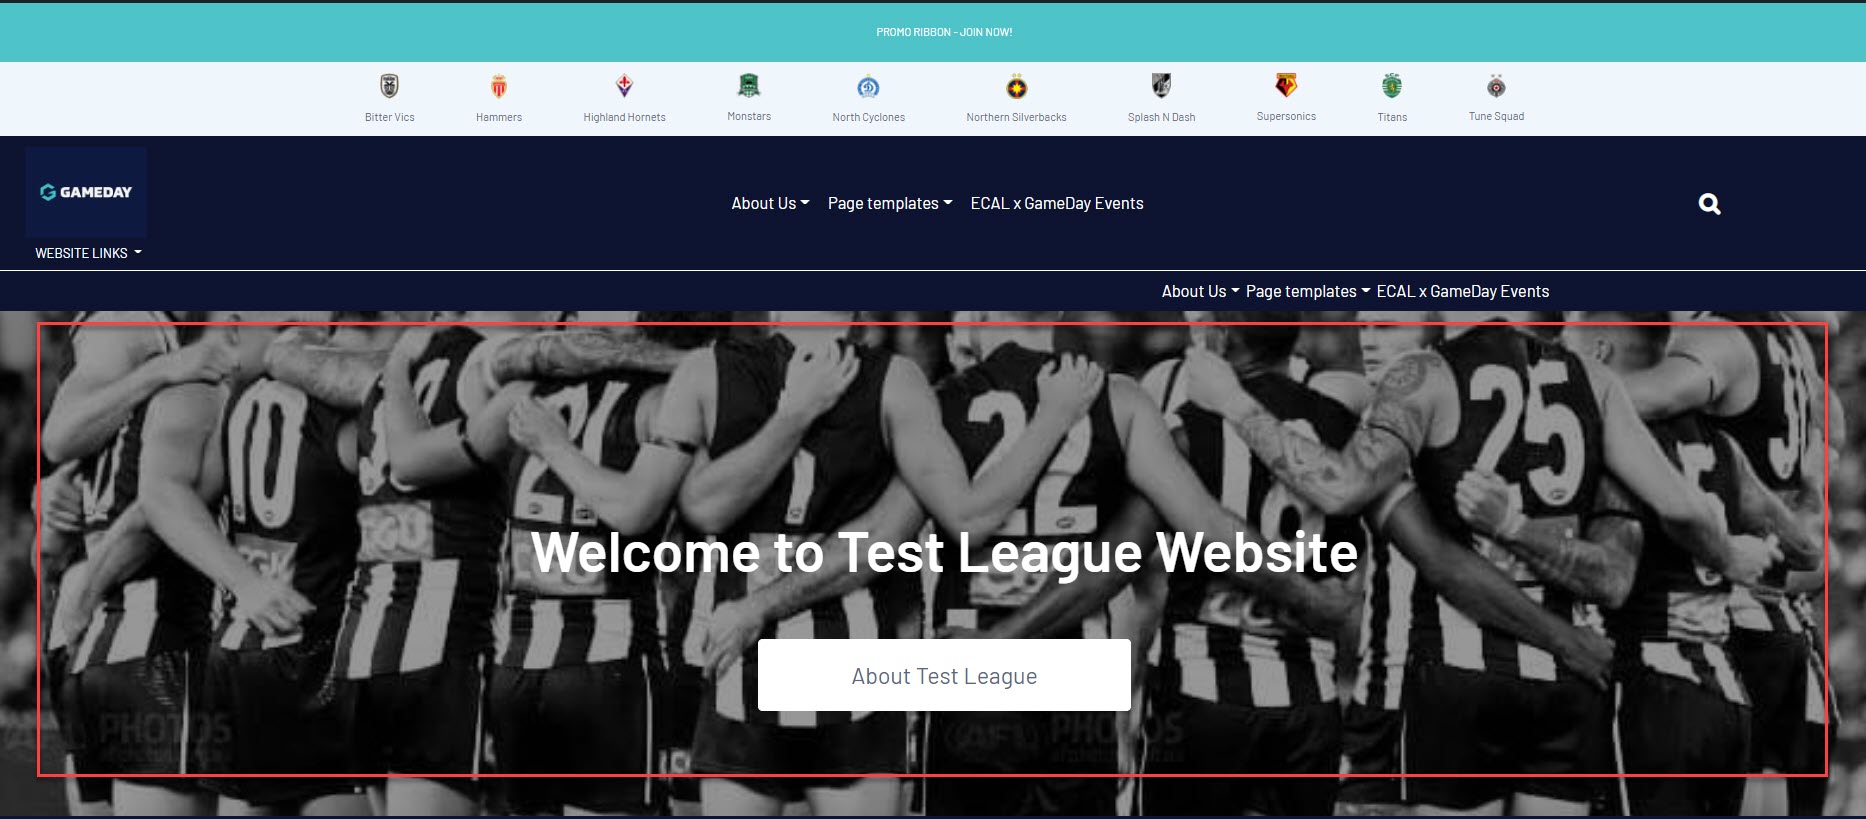
EXAMPLE ON WEBSITE OF BANNER (NO CTA OR COUNTDOWN)
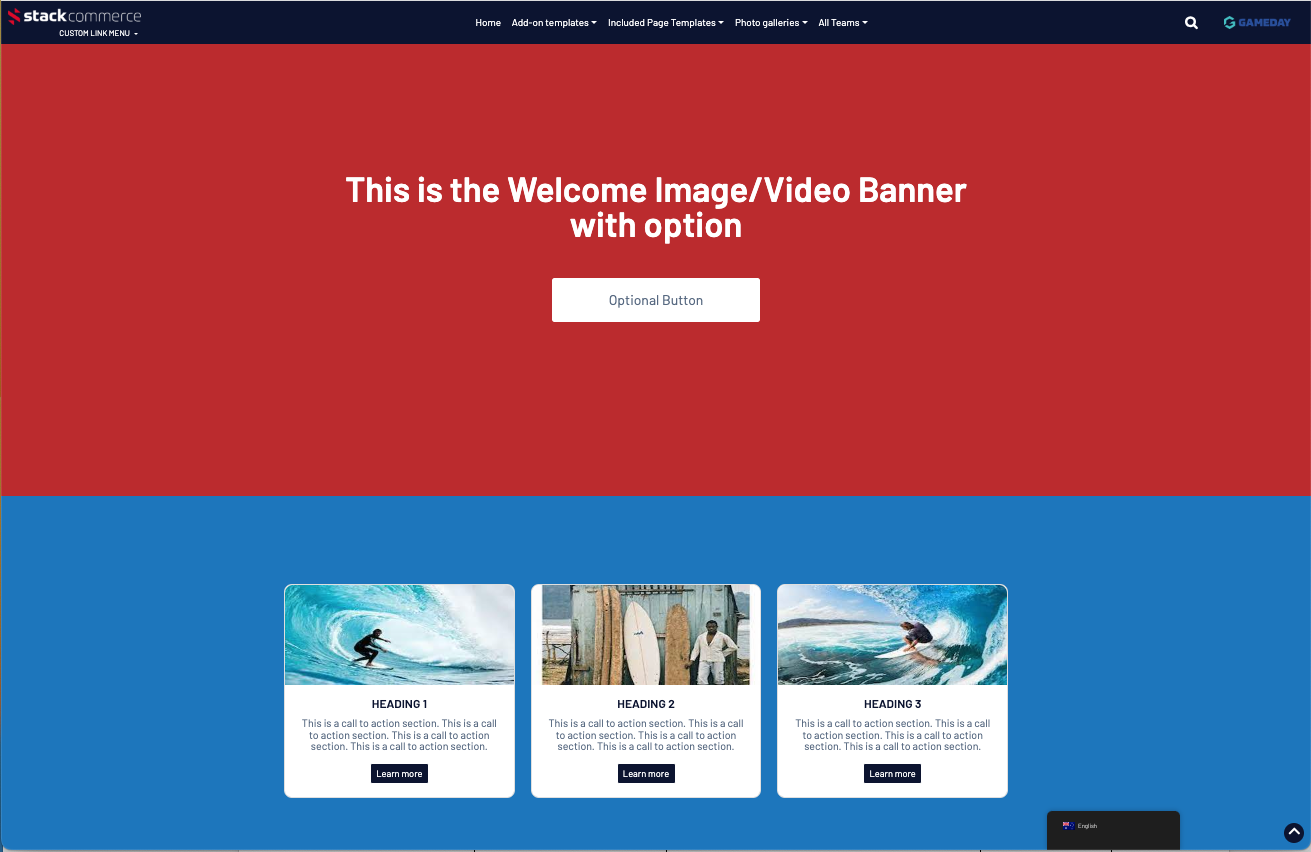
EXAMPLE ON WEBSITE OF BANNER (WITH CTA)
EXAMPLE ON WEBSITE OF BANNER (COUNTDOWN TIMER)
