Member transaction report
This report is the best to run if you are wanting detailed information on members that has generic contact information as well as their transactional and financial information like financial status, products purchased, member types, member start and end dates etc.
To access the transaction reports, from the top menu bar, click Reports.

2. Select the Member Transaction Report
![]()
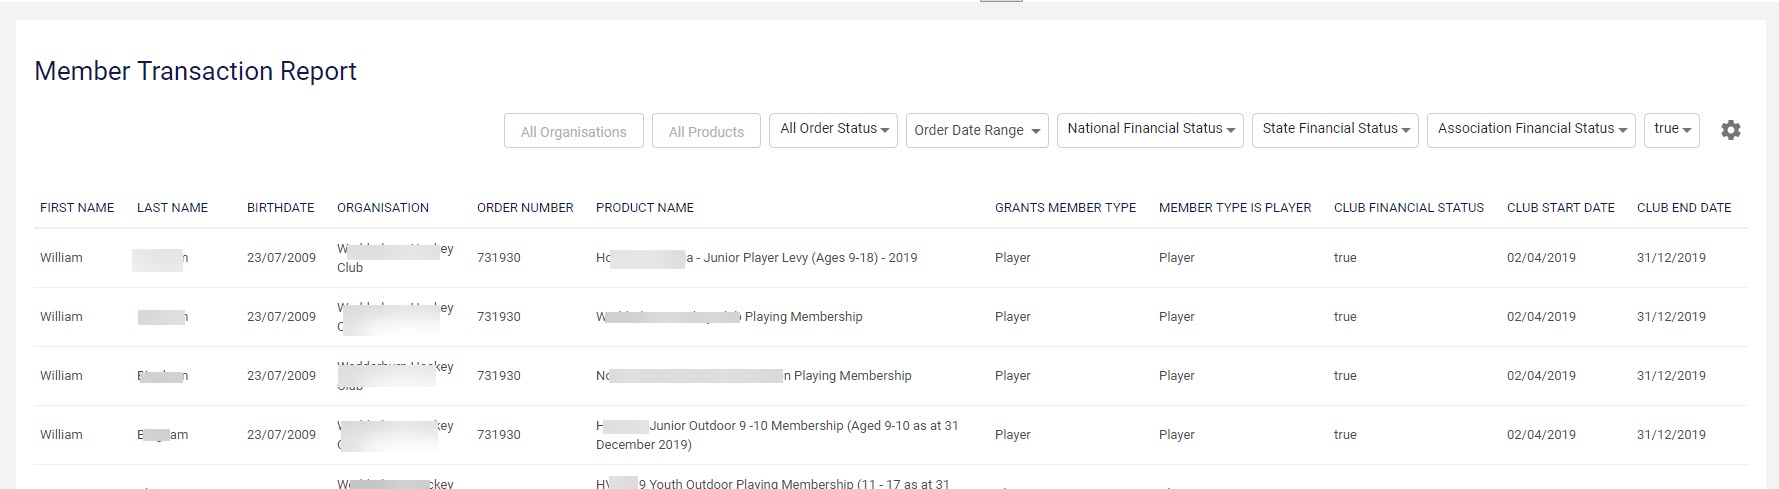
Once the report has loaded you will see a variety of different member and transaction fields.
3. You can filter on the following fields to get more specific information related to member transactions.
a. Order status
b. Order date range- the date the member paid for the fees
c. Financial status at each level
3a. ORDER STATUS
You can filter on the order status of members. Most members that have purchased will have paid orders, however you can also filter on orders that might be cancelled, refunded, new or committed by using the order status filter.

3b. ORDER DATE RANGE
Admins can filter on the date the membership fees were purchased by a member (the date the member registered) by using the order date range filter- this will filter only those members who paid for their orders on that specific date range to show in the report.

3c. FINANCIAL STATUS
Admins can report on the current financial status of members dependent on each level; national, state, association and club. Most admins will want to filter those members based on their own club fees so you will need to filter this appropriately.

Admins have the option to filter by true or false. True refers to those that are currently active at that level (green traffic light), while false refers to those that currently aren't financially active at that level (red traffic light).
For example, to determine those members that are financially active at club level, you would need to adjust the club financial status filter to true.

4. Admins can also choose what fields they would like displayed on the report if not all the fields are required for the information that you actually want to display. This can be accessed via the settings cog icon on the right hand side next to the filter menus.

Unticking any boxes will remove these fields from the report. Once happy with the fields click apply to save the changes.

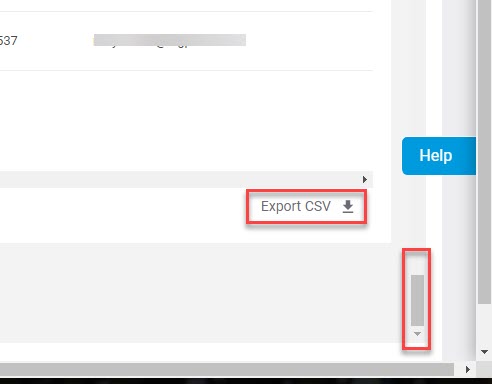
5. Once you have your filters set (or have no filters set) you can download the report which will export to a CSV (excel) file. To do this scroll to the bottom of the report (using the second set of drag arrows) and click Export CSV.
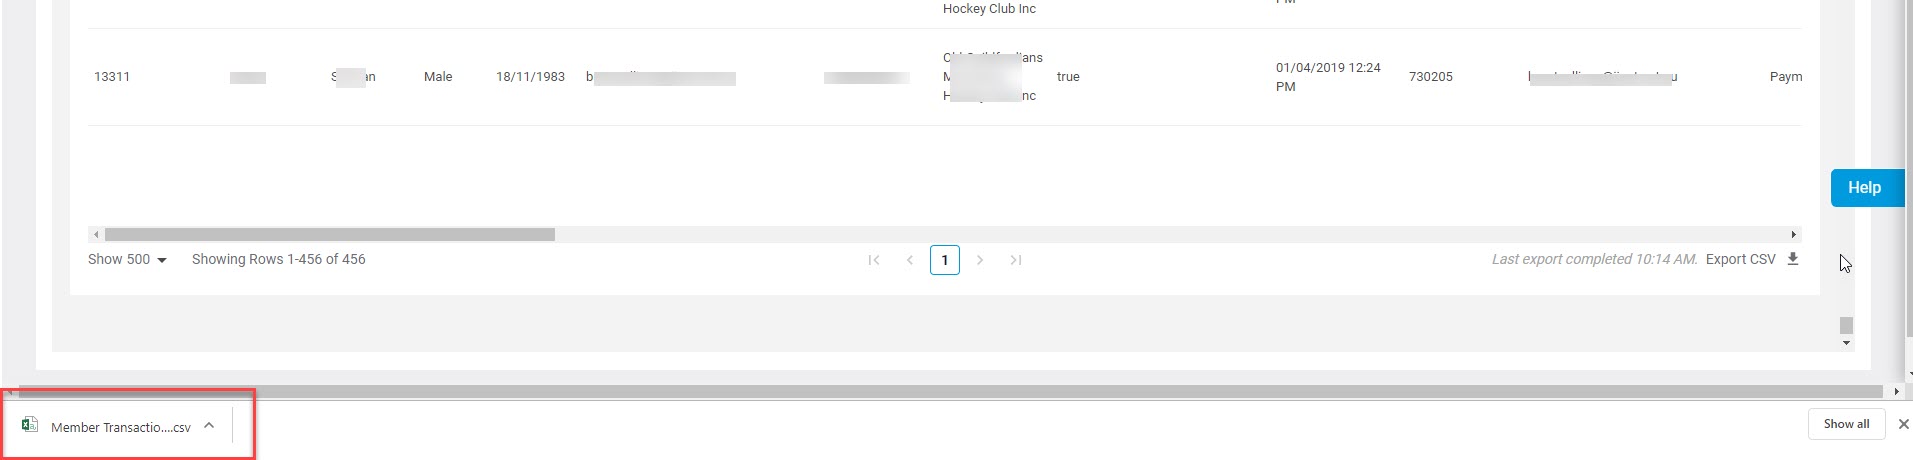
The report will start to download - indicated by the ''exporting'' icon displayed. Once the export has been downloaded (this can take between 30 second- 2 minutes depending on how much data needs to be exported), it will appear in your downloads file or on the bottom of your browser like below.

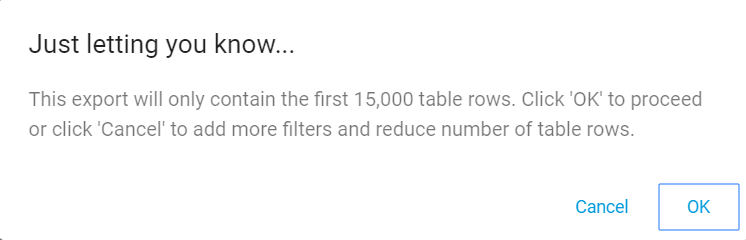
Note: the export is limited to the first 15,000 records. If this limit is reached a pop up window (like the one below) will display- selecting ''cancel'' will cancel the download all together or clicking ''ok'' will only download the first 15,000 records. Simply apply more filters to reduce the amount of records to be downloaded.